The idea of developing a product is to come up with something that can be sold…at a profit.
For the most part, she enjoys the whole process; but two days and probably sixteen hours into it, she wonders why she puts herself through this grueling process. 16 hours times $10 an hour (her minimum mentally acceptable labor rate) is $160. Debra Dorgan wouldn’t hesitate to ask this much, but Ms. SpoolTeacher is not of that caliber, at least not yet. As a matter of fact, it was viewing Debra’s lovely things on Etsy that had gotten Ms. SpoolTeacher’s muse all jazzed up to sew. That and the weather. And that most of her winter seeds had been sown. Oh sure, there were lots of projects available to do on the First Do No Harm Front Yard Farmacy agenda, but it was time to start thinking about earning more income.
During the summer monsoons, all of the sample books on the top shelf under her patio cover had gotten wet from leaks that occur along the joint where the cover meets the house. She had pulled them all apart and was washing and drying them to use for projects such as this one that got in her mind to do.
This day, two days ago, she was sorting samples that had finished drying suddenly two samples got her muse activated so she started work immediately.
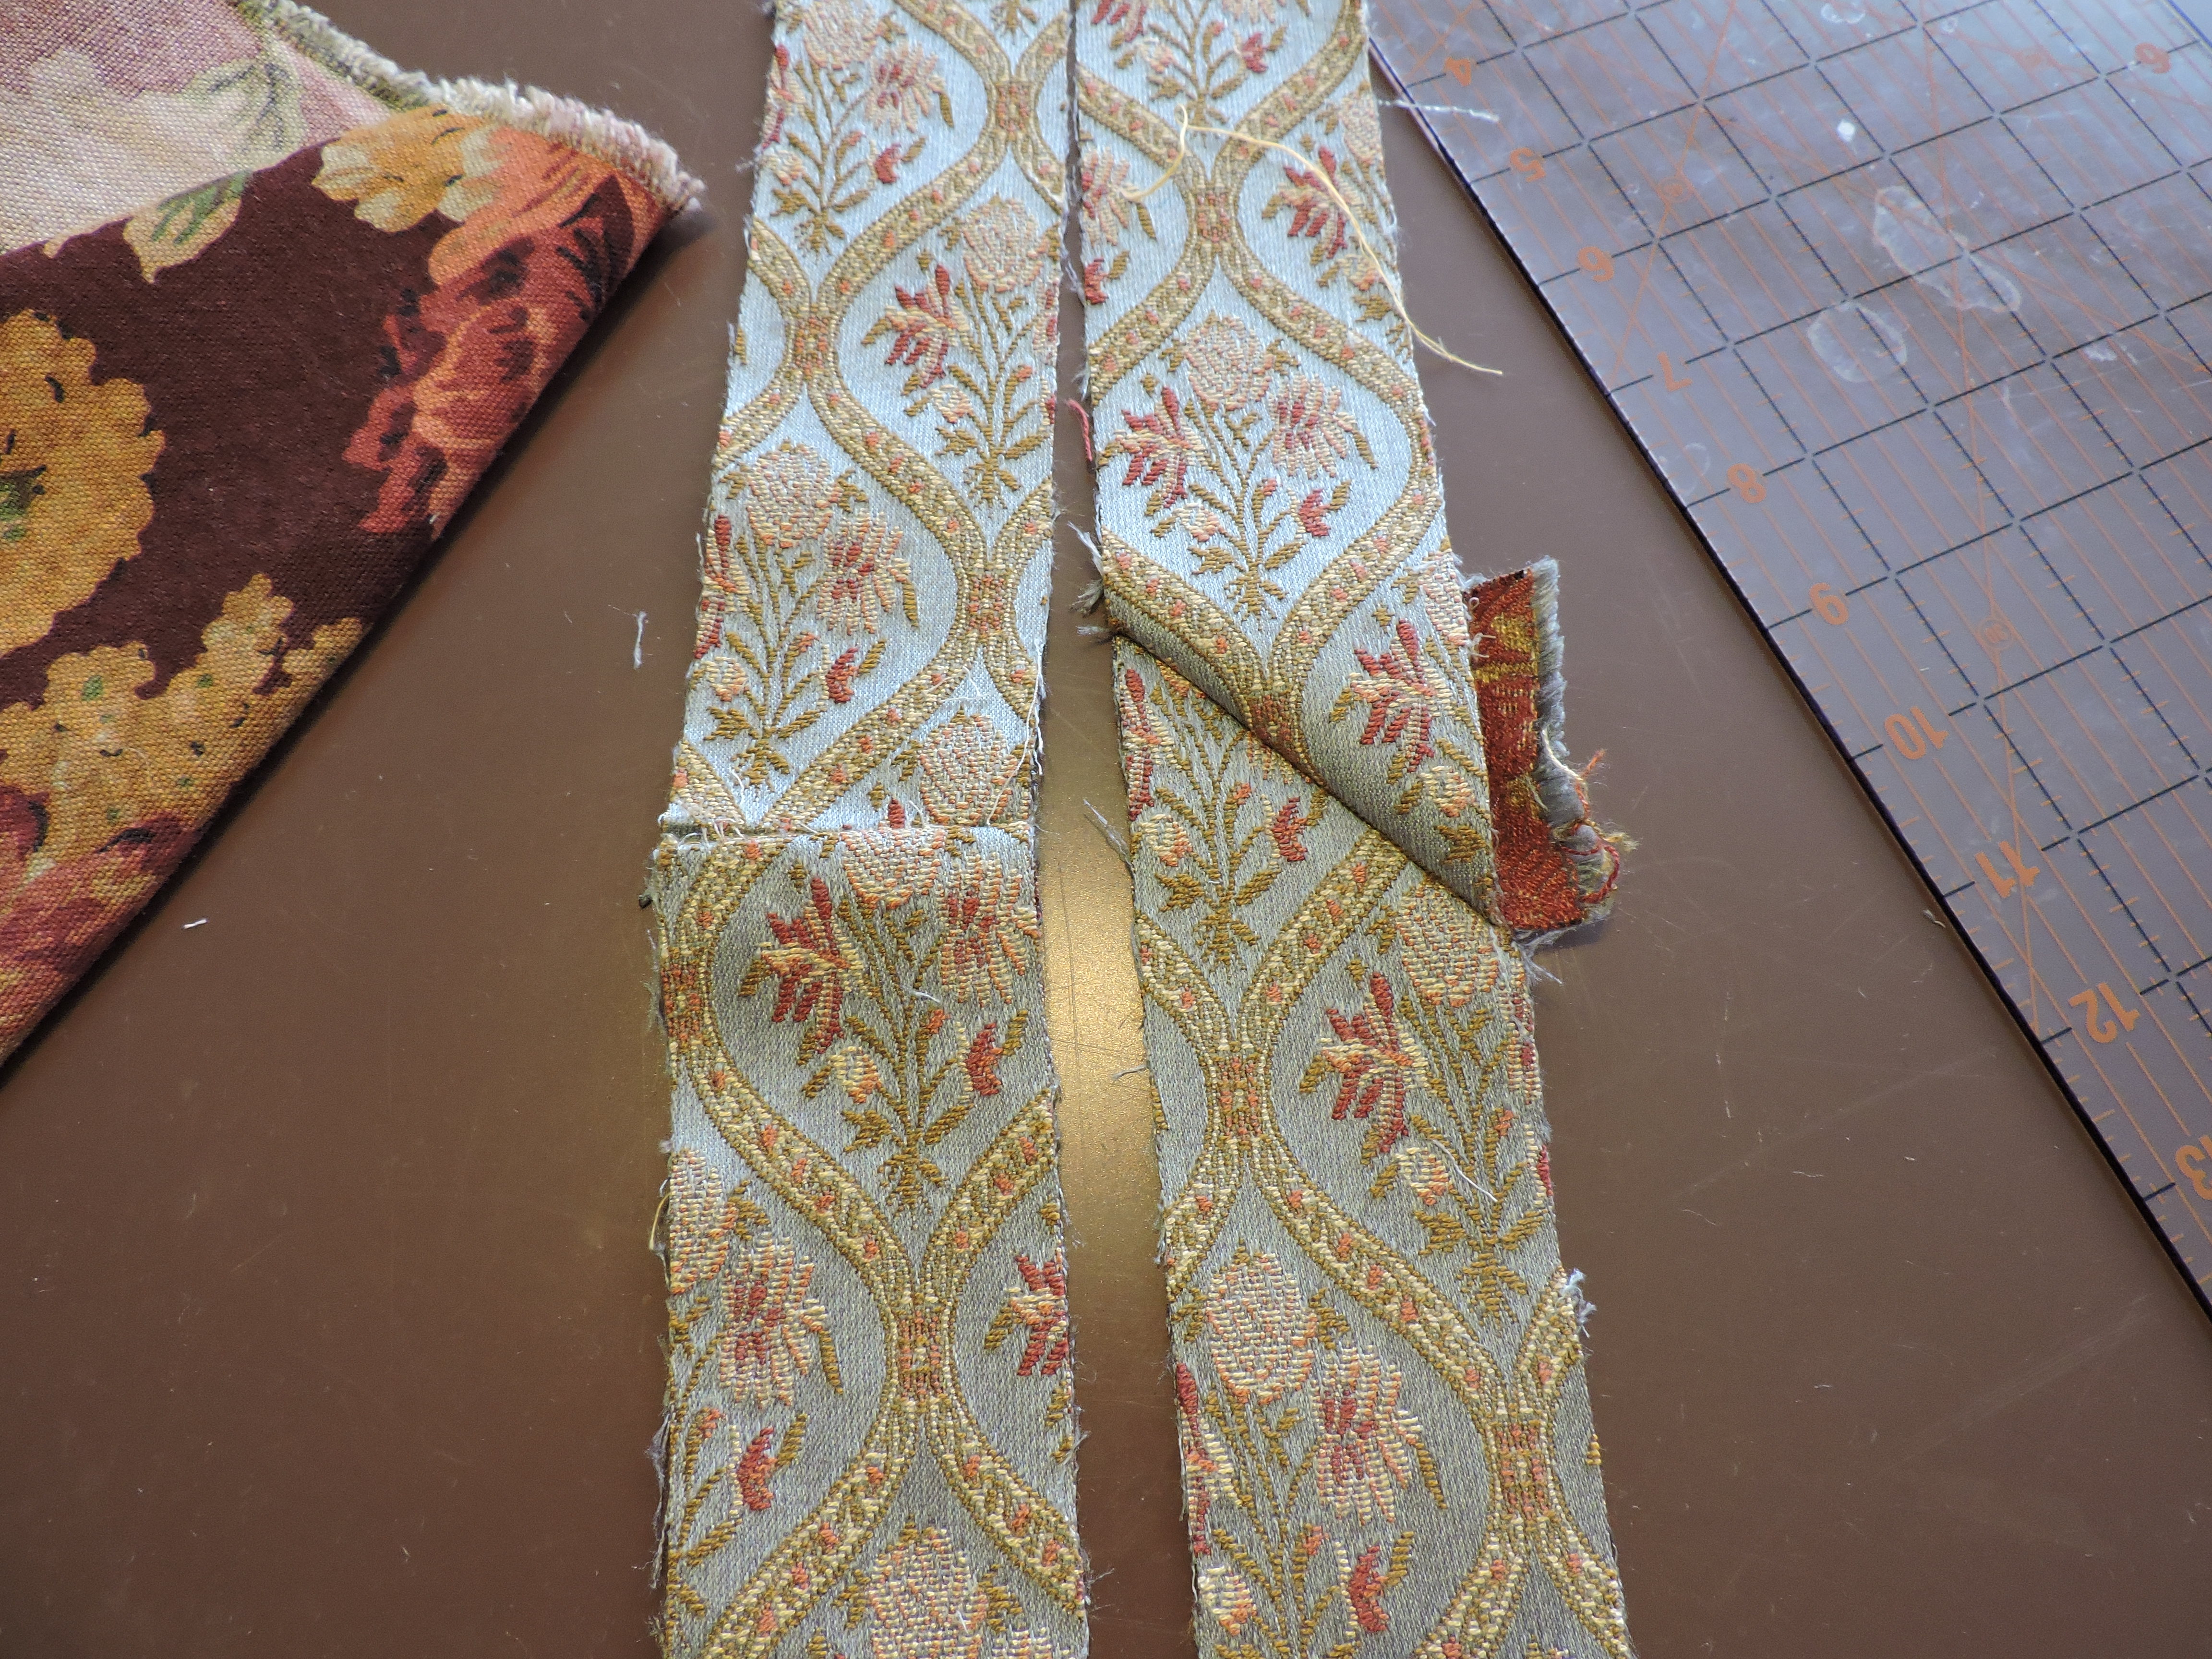
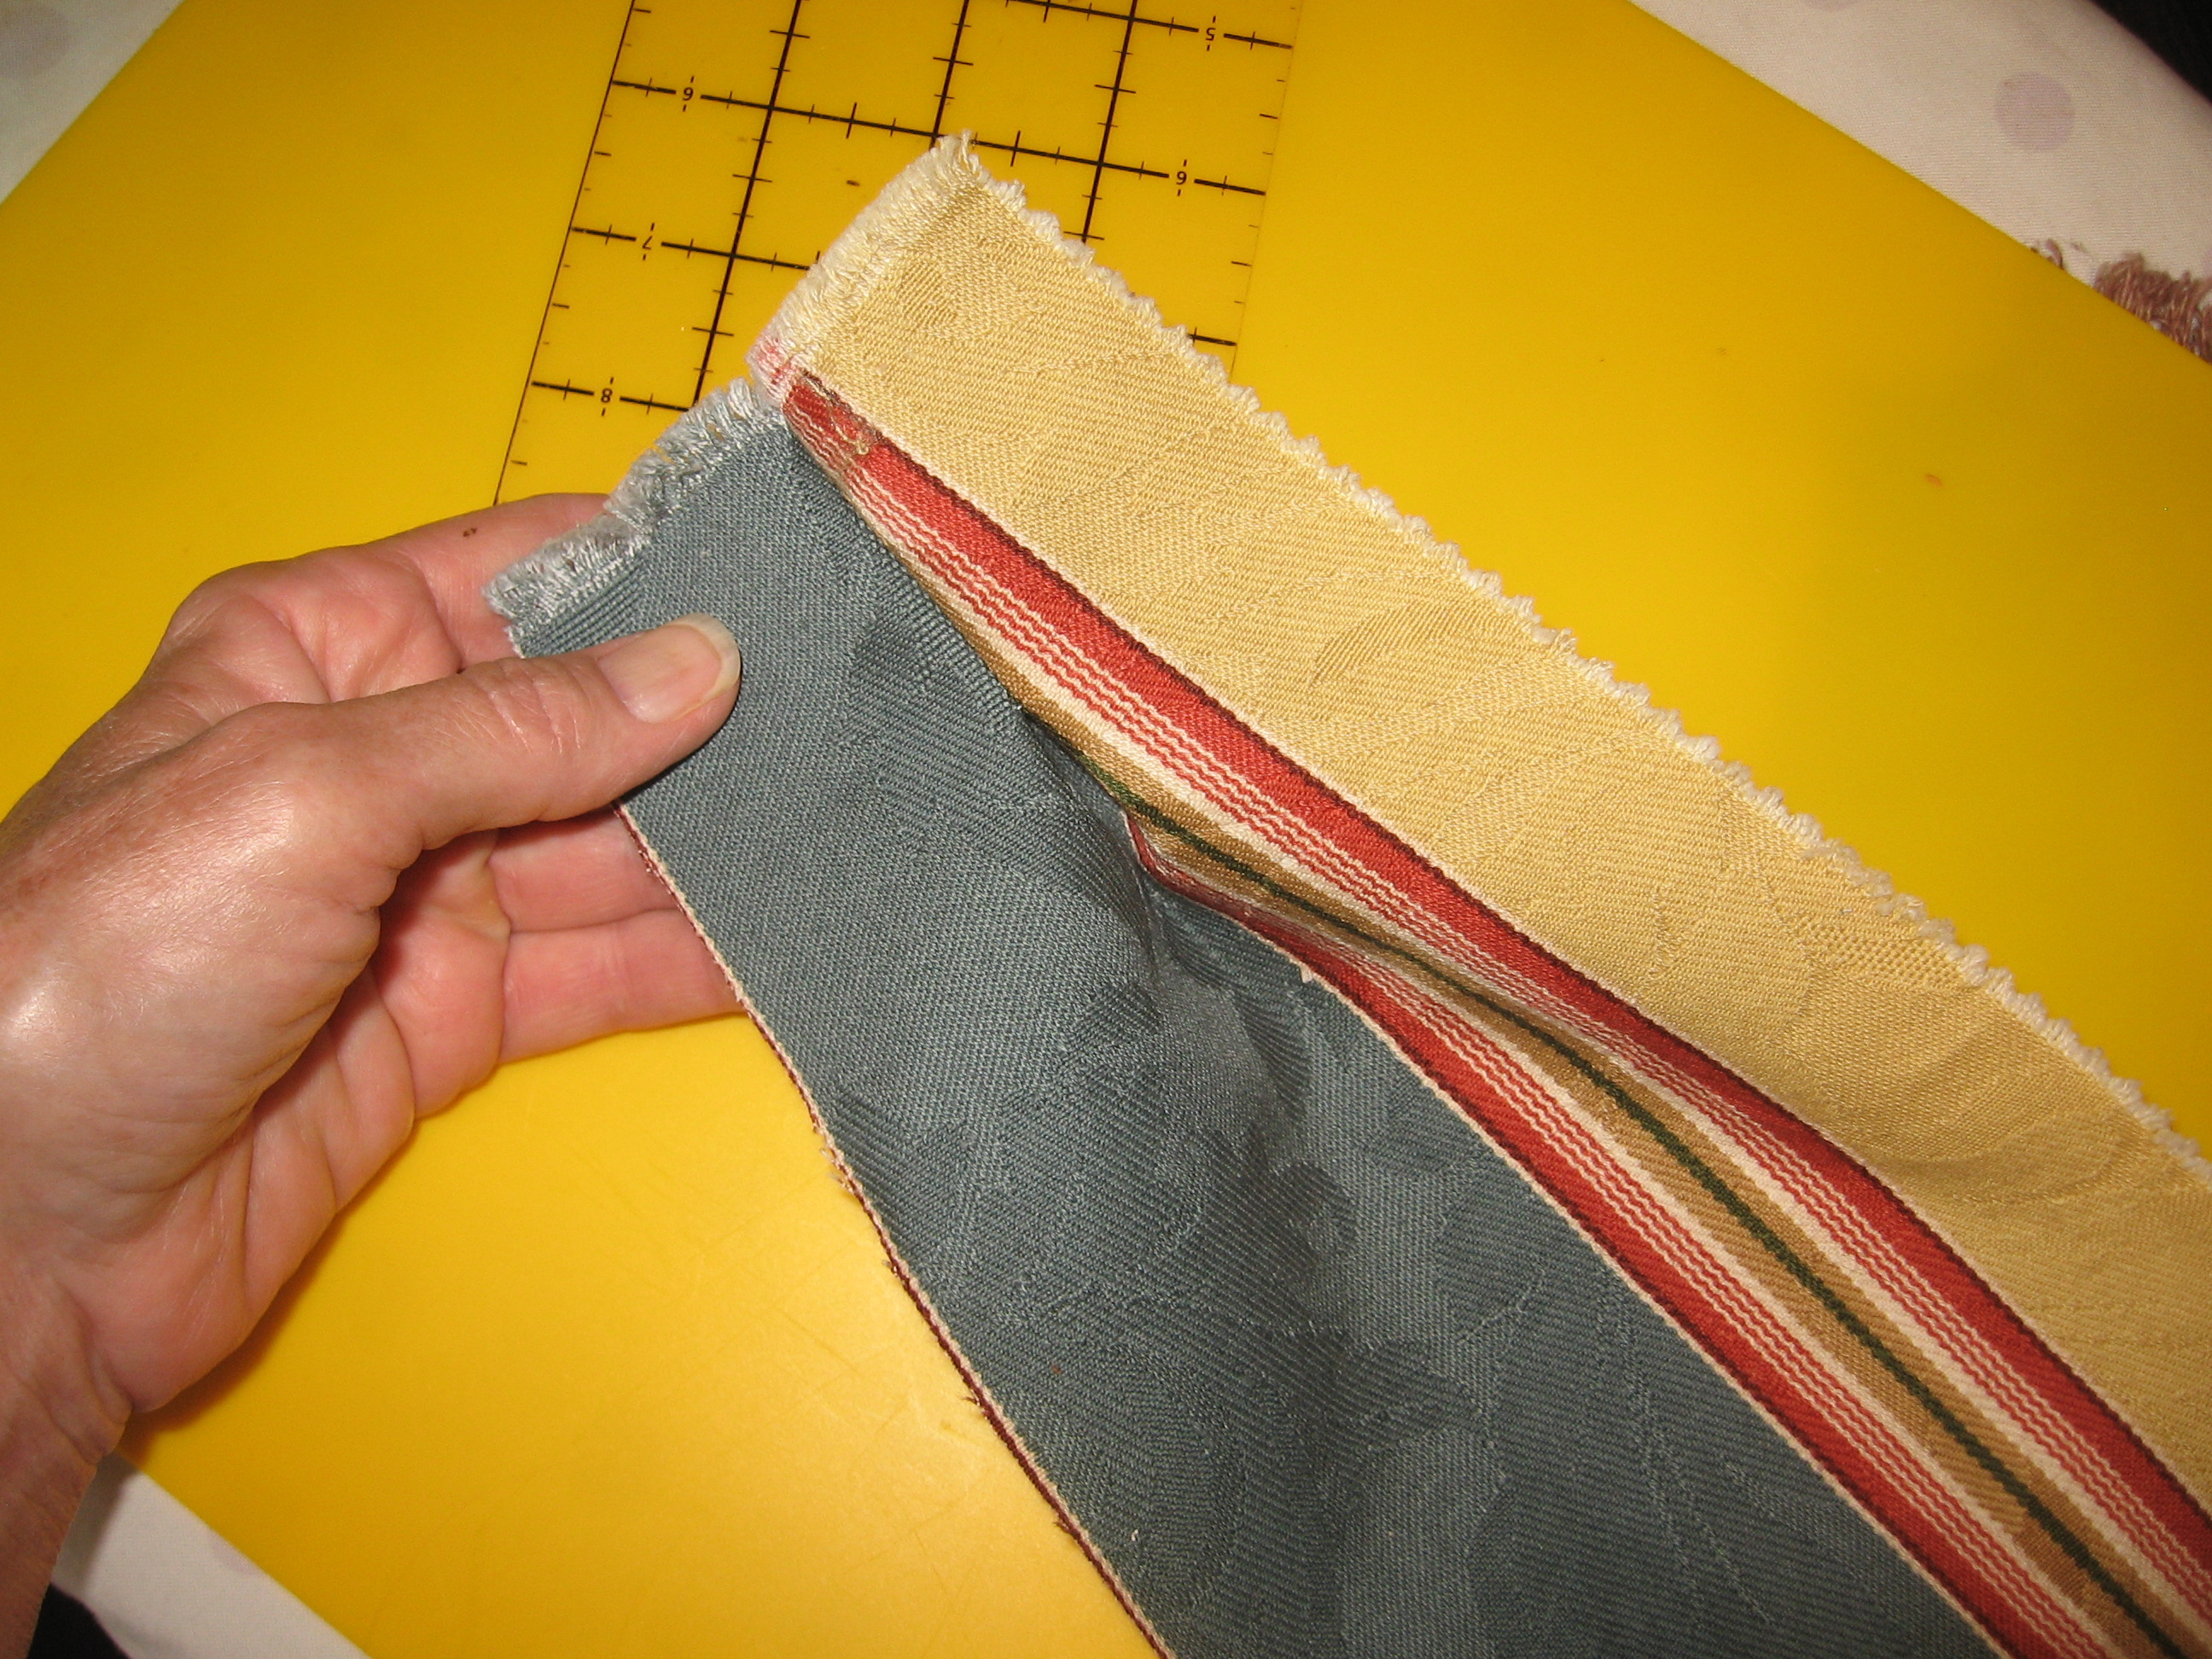 The front and back of the bag would be two colors of the same print and the sides would be a stripe piece cut in half.
She decided to make a pleat at the bottom edge to add interest and keep it from being a boring rectangle.
Her design plan was to utilize as much of the sample piece as possible. 
To make the pleat, she measured two inches up and one inch in and stitched the line. Then the pleat is pressed so that the middle meets the seam.
 The next design decision was which side would go with the red and which with the blue. These things are more important than you would think.
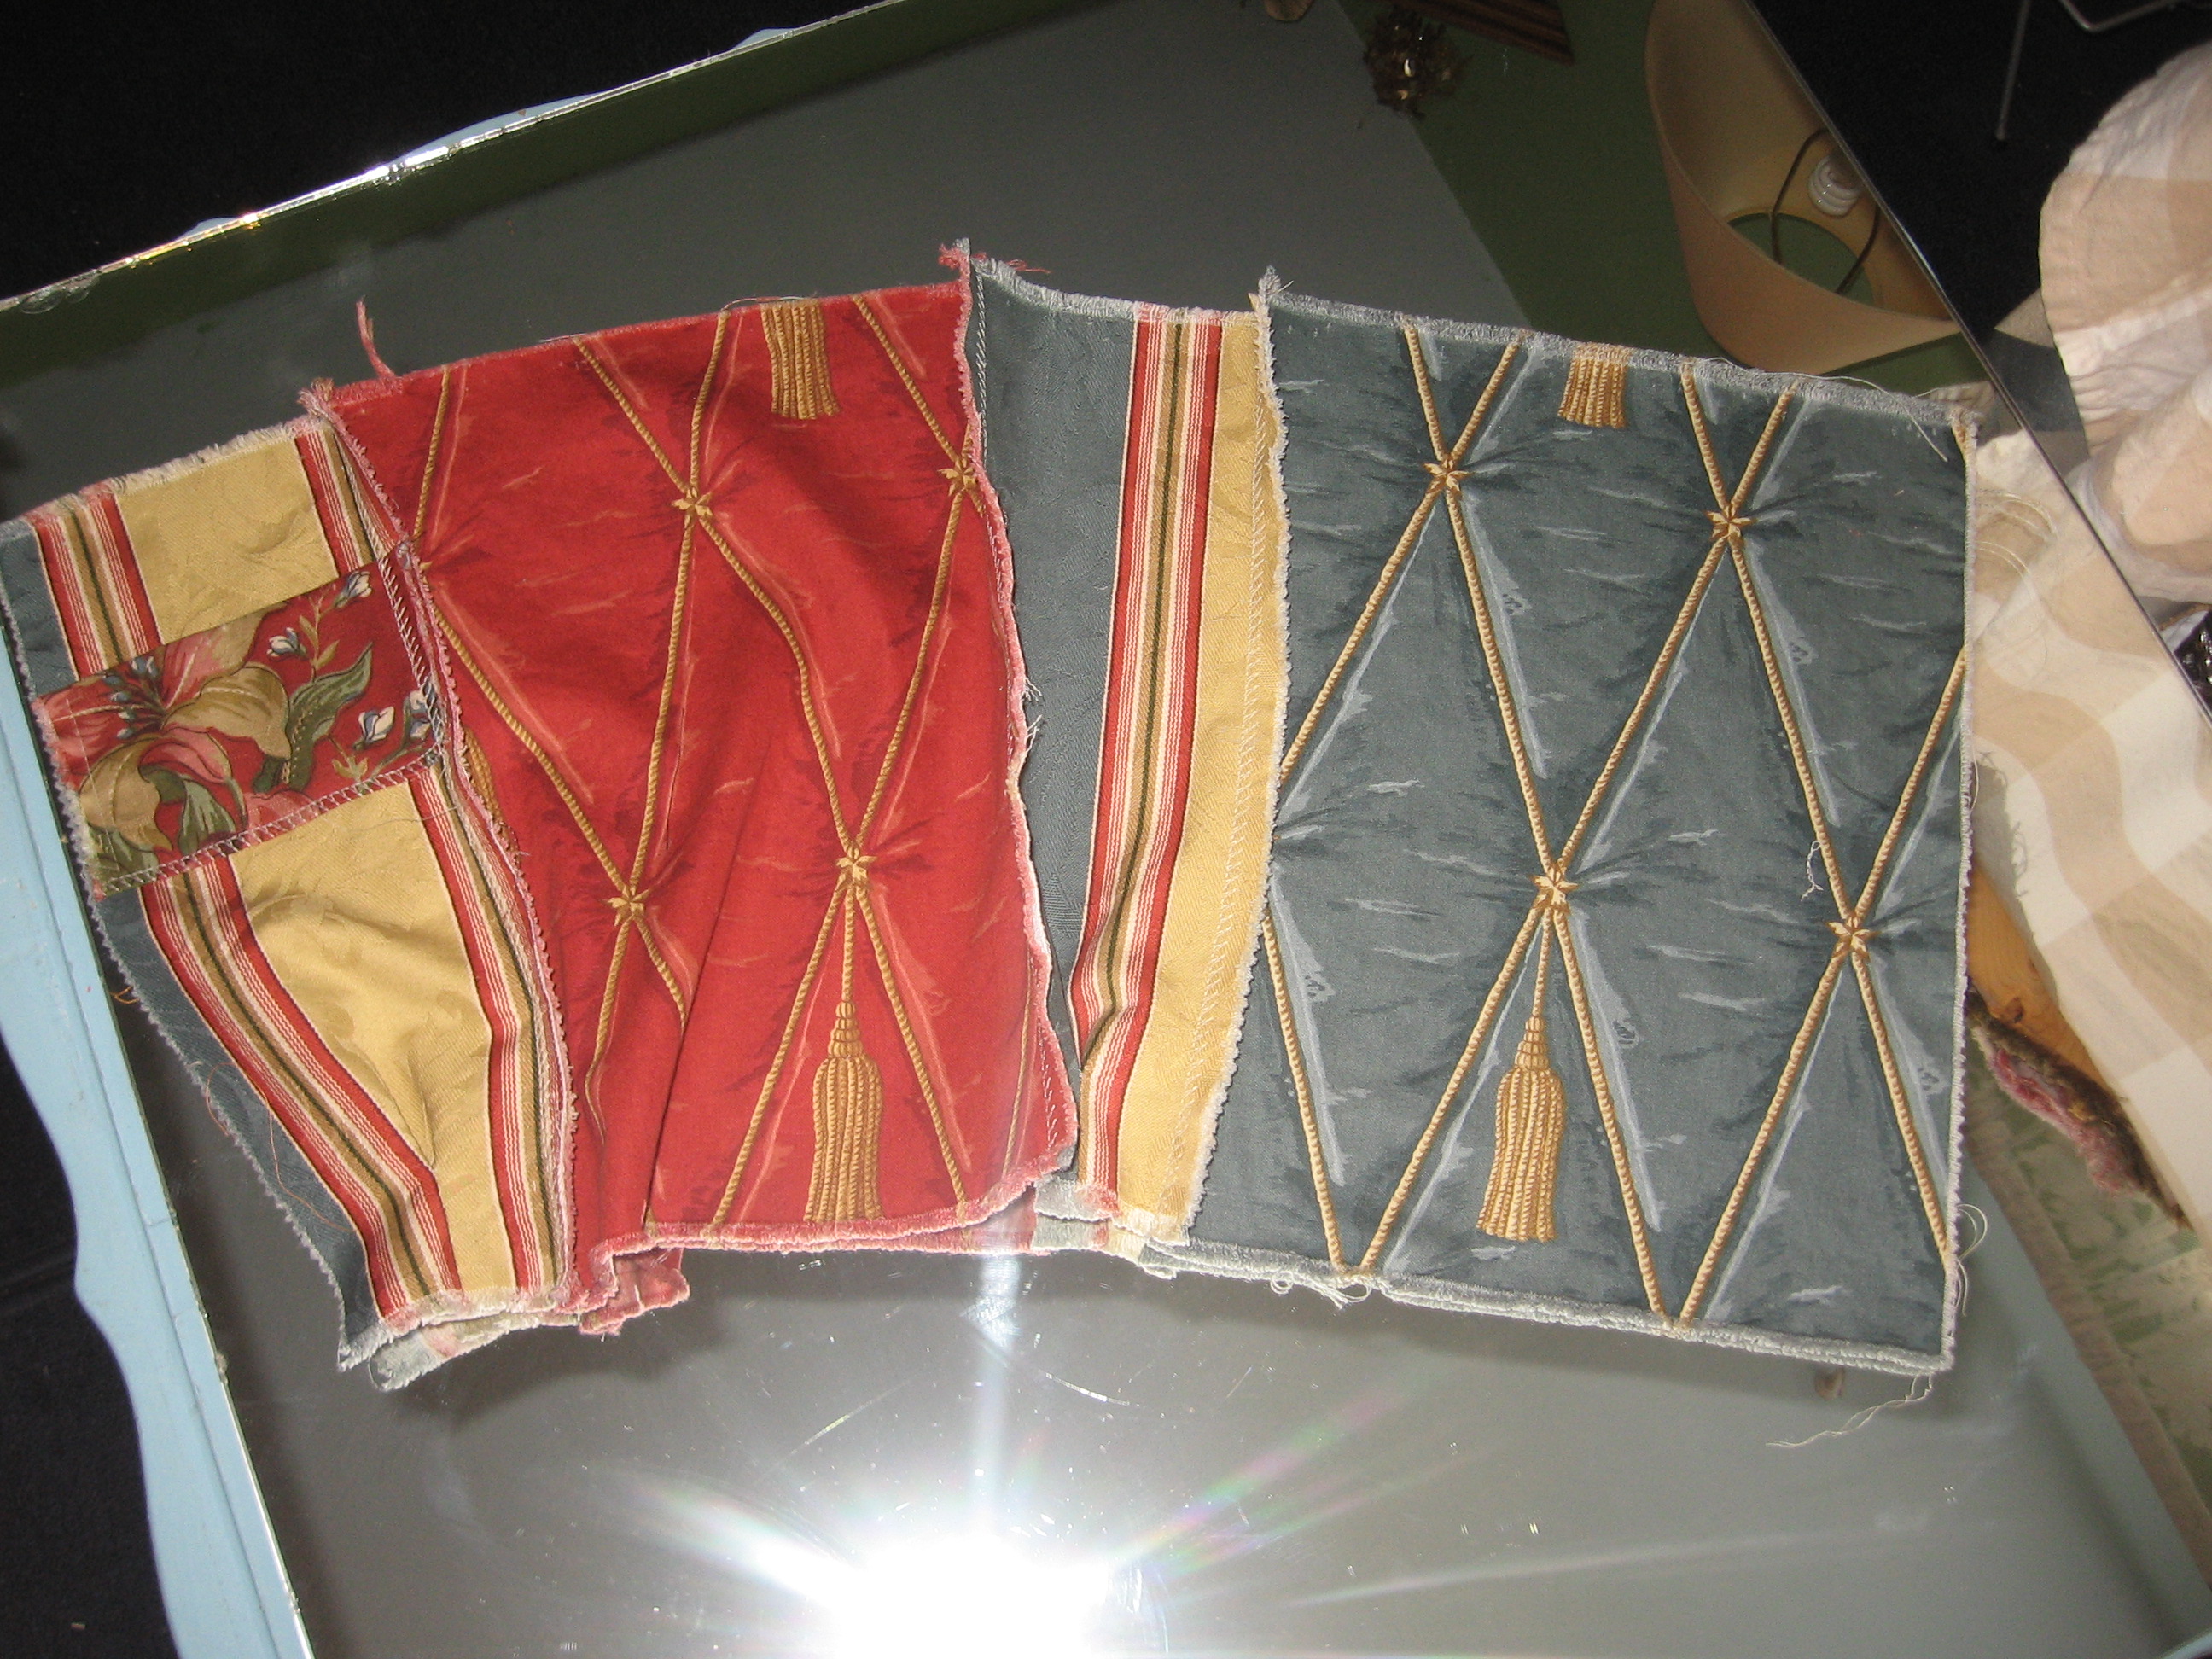
Yellow, red, yellow, blue. That way the sides separate from the main body, visually.
She had sewn them together so that the bottom edges were all even so she measured all across the four pieces to make them even at the top as well, then seamed the final two edges together to form a rectangle.
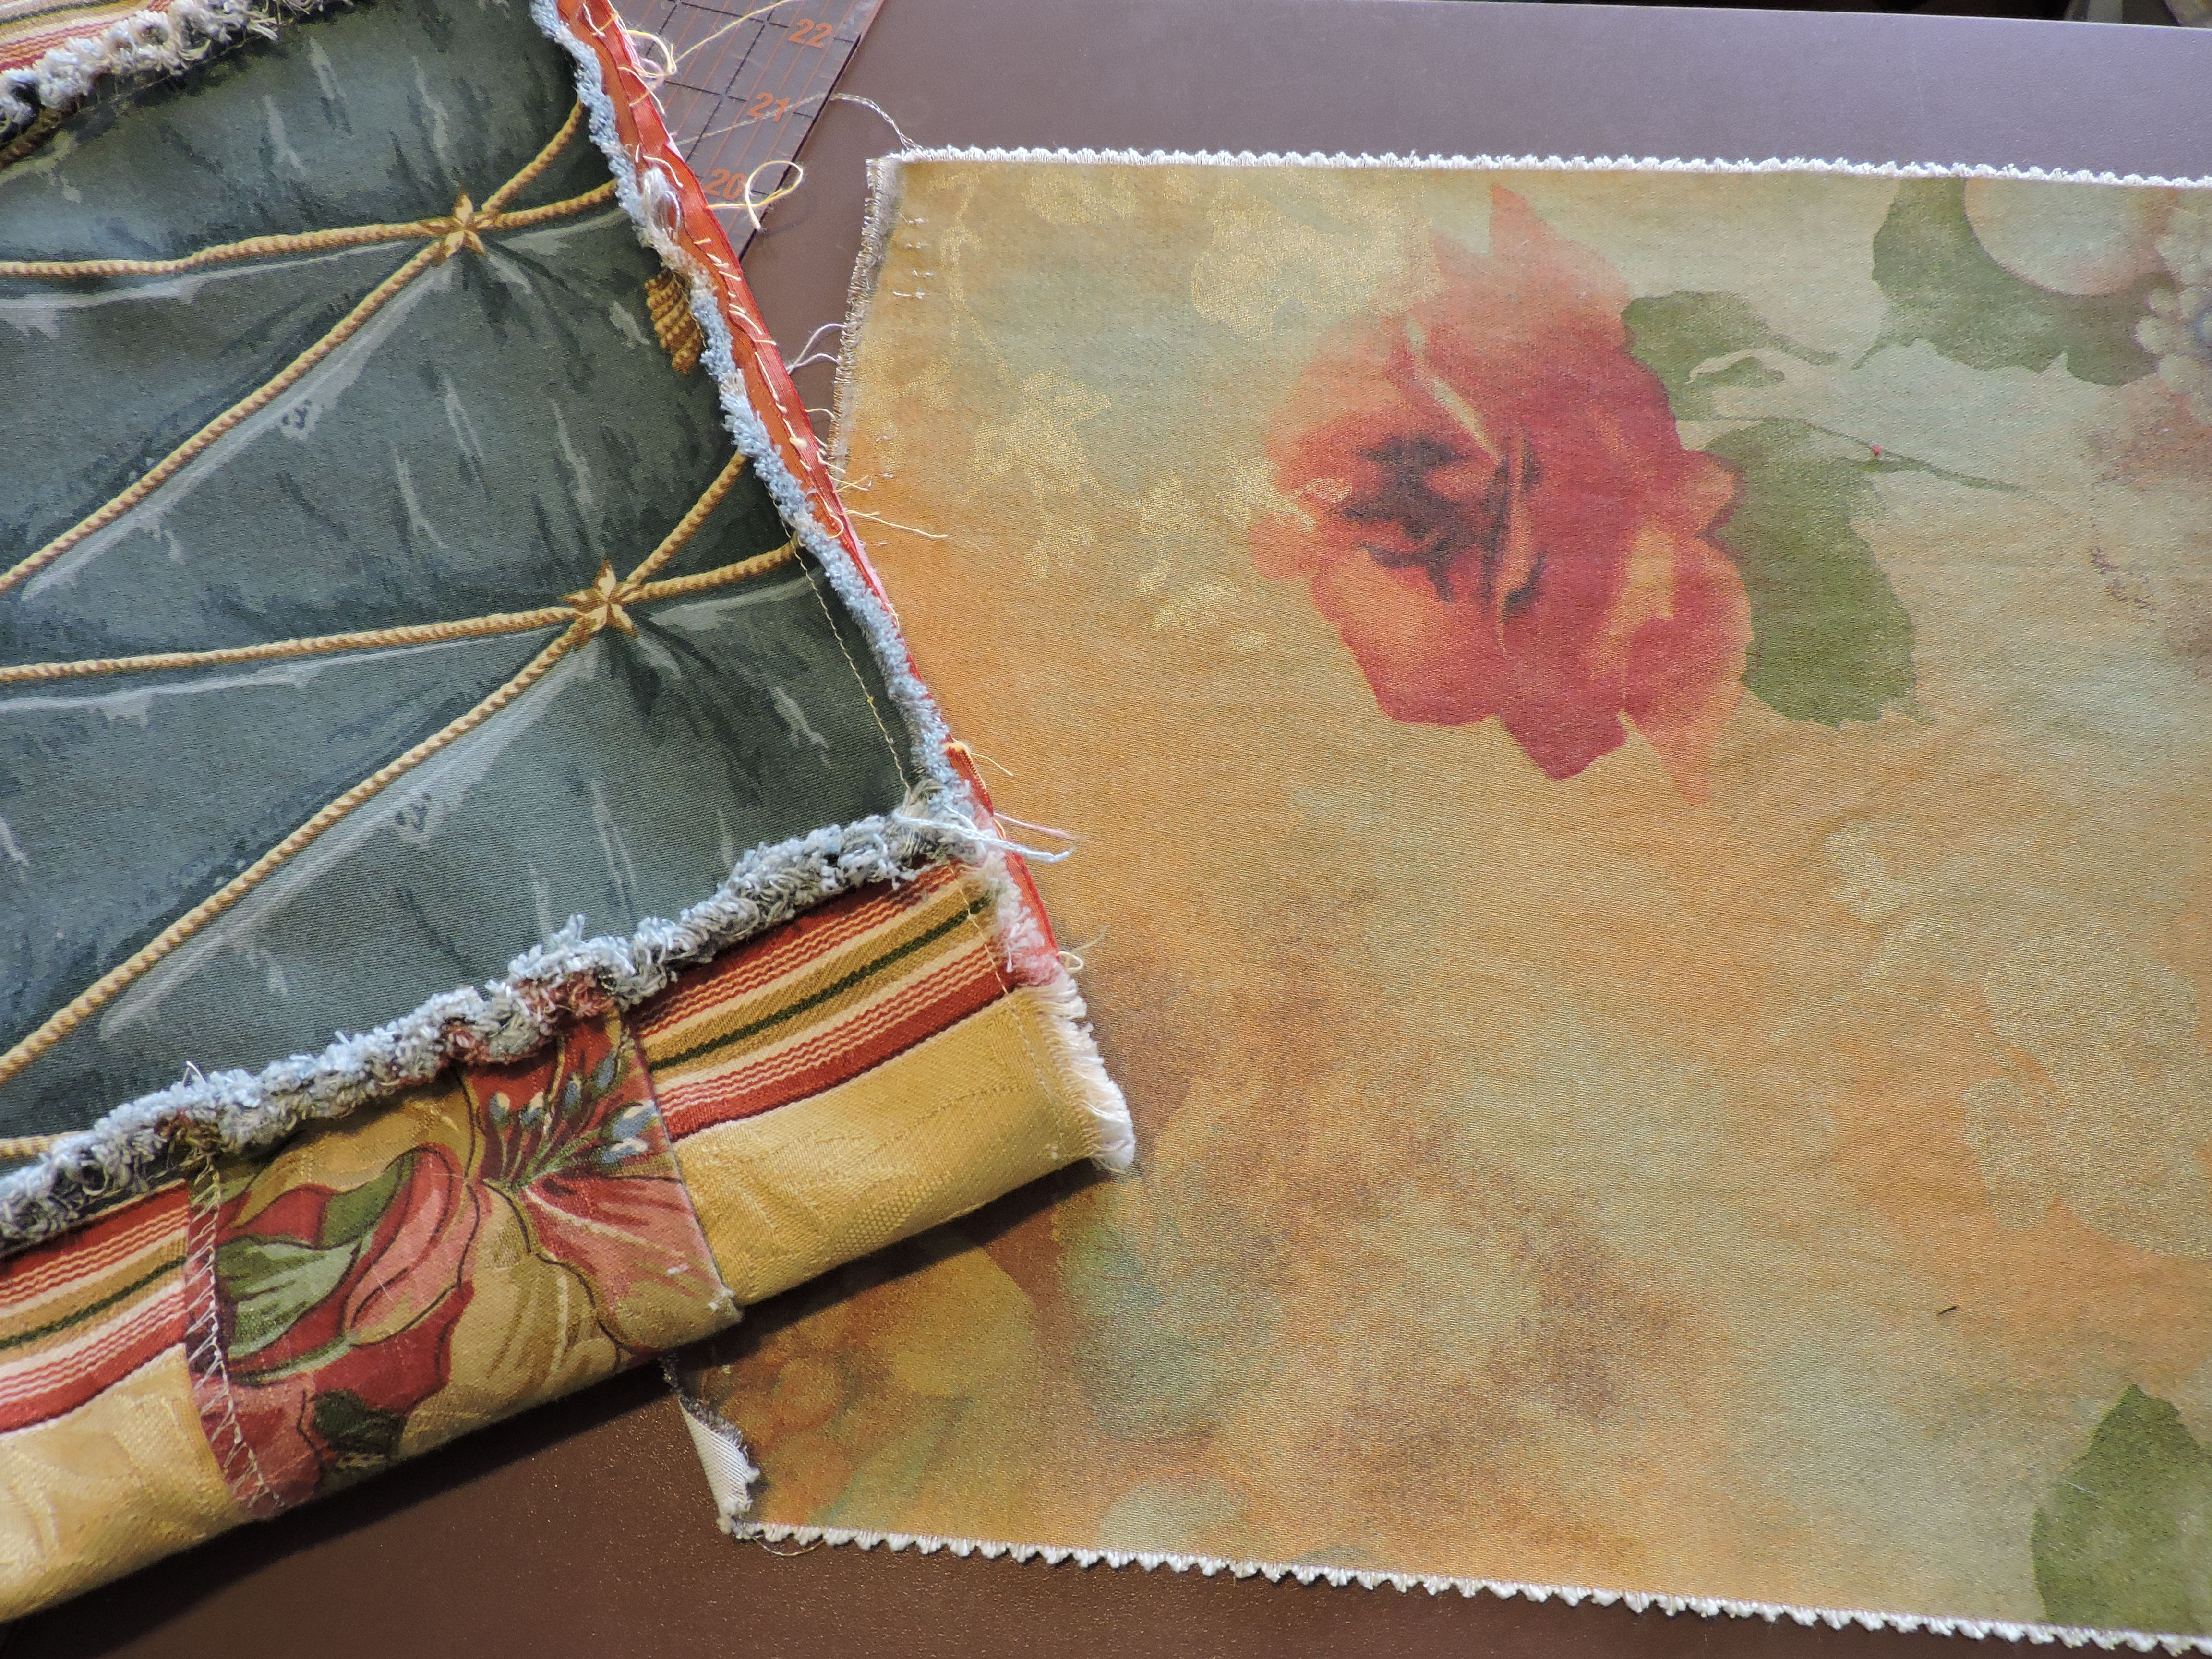
The next decision was what to use for the bottom.
She laid the “rectangle” on a stack of clean samples and started flipping through them until one “felt” right.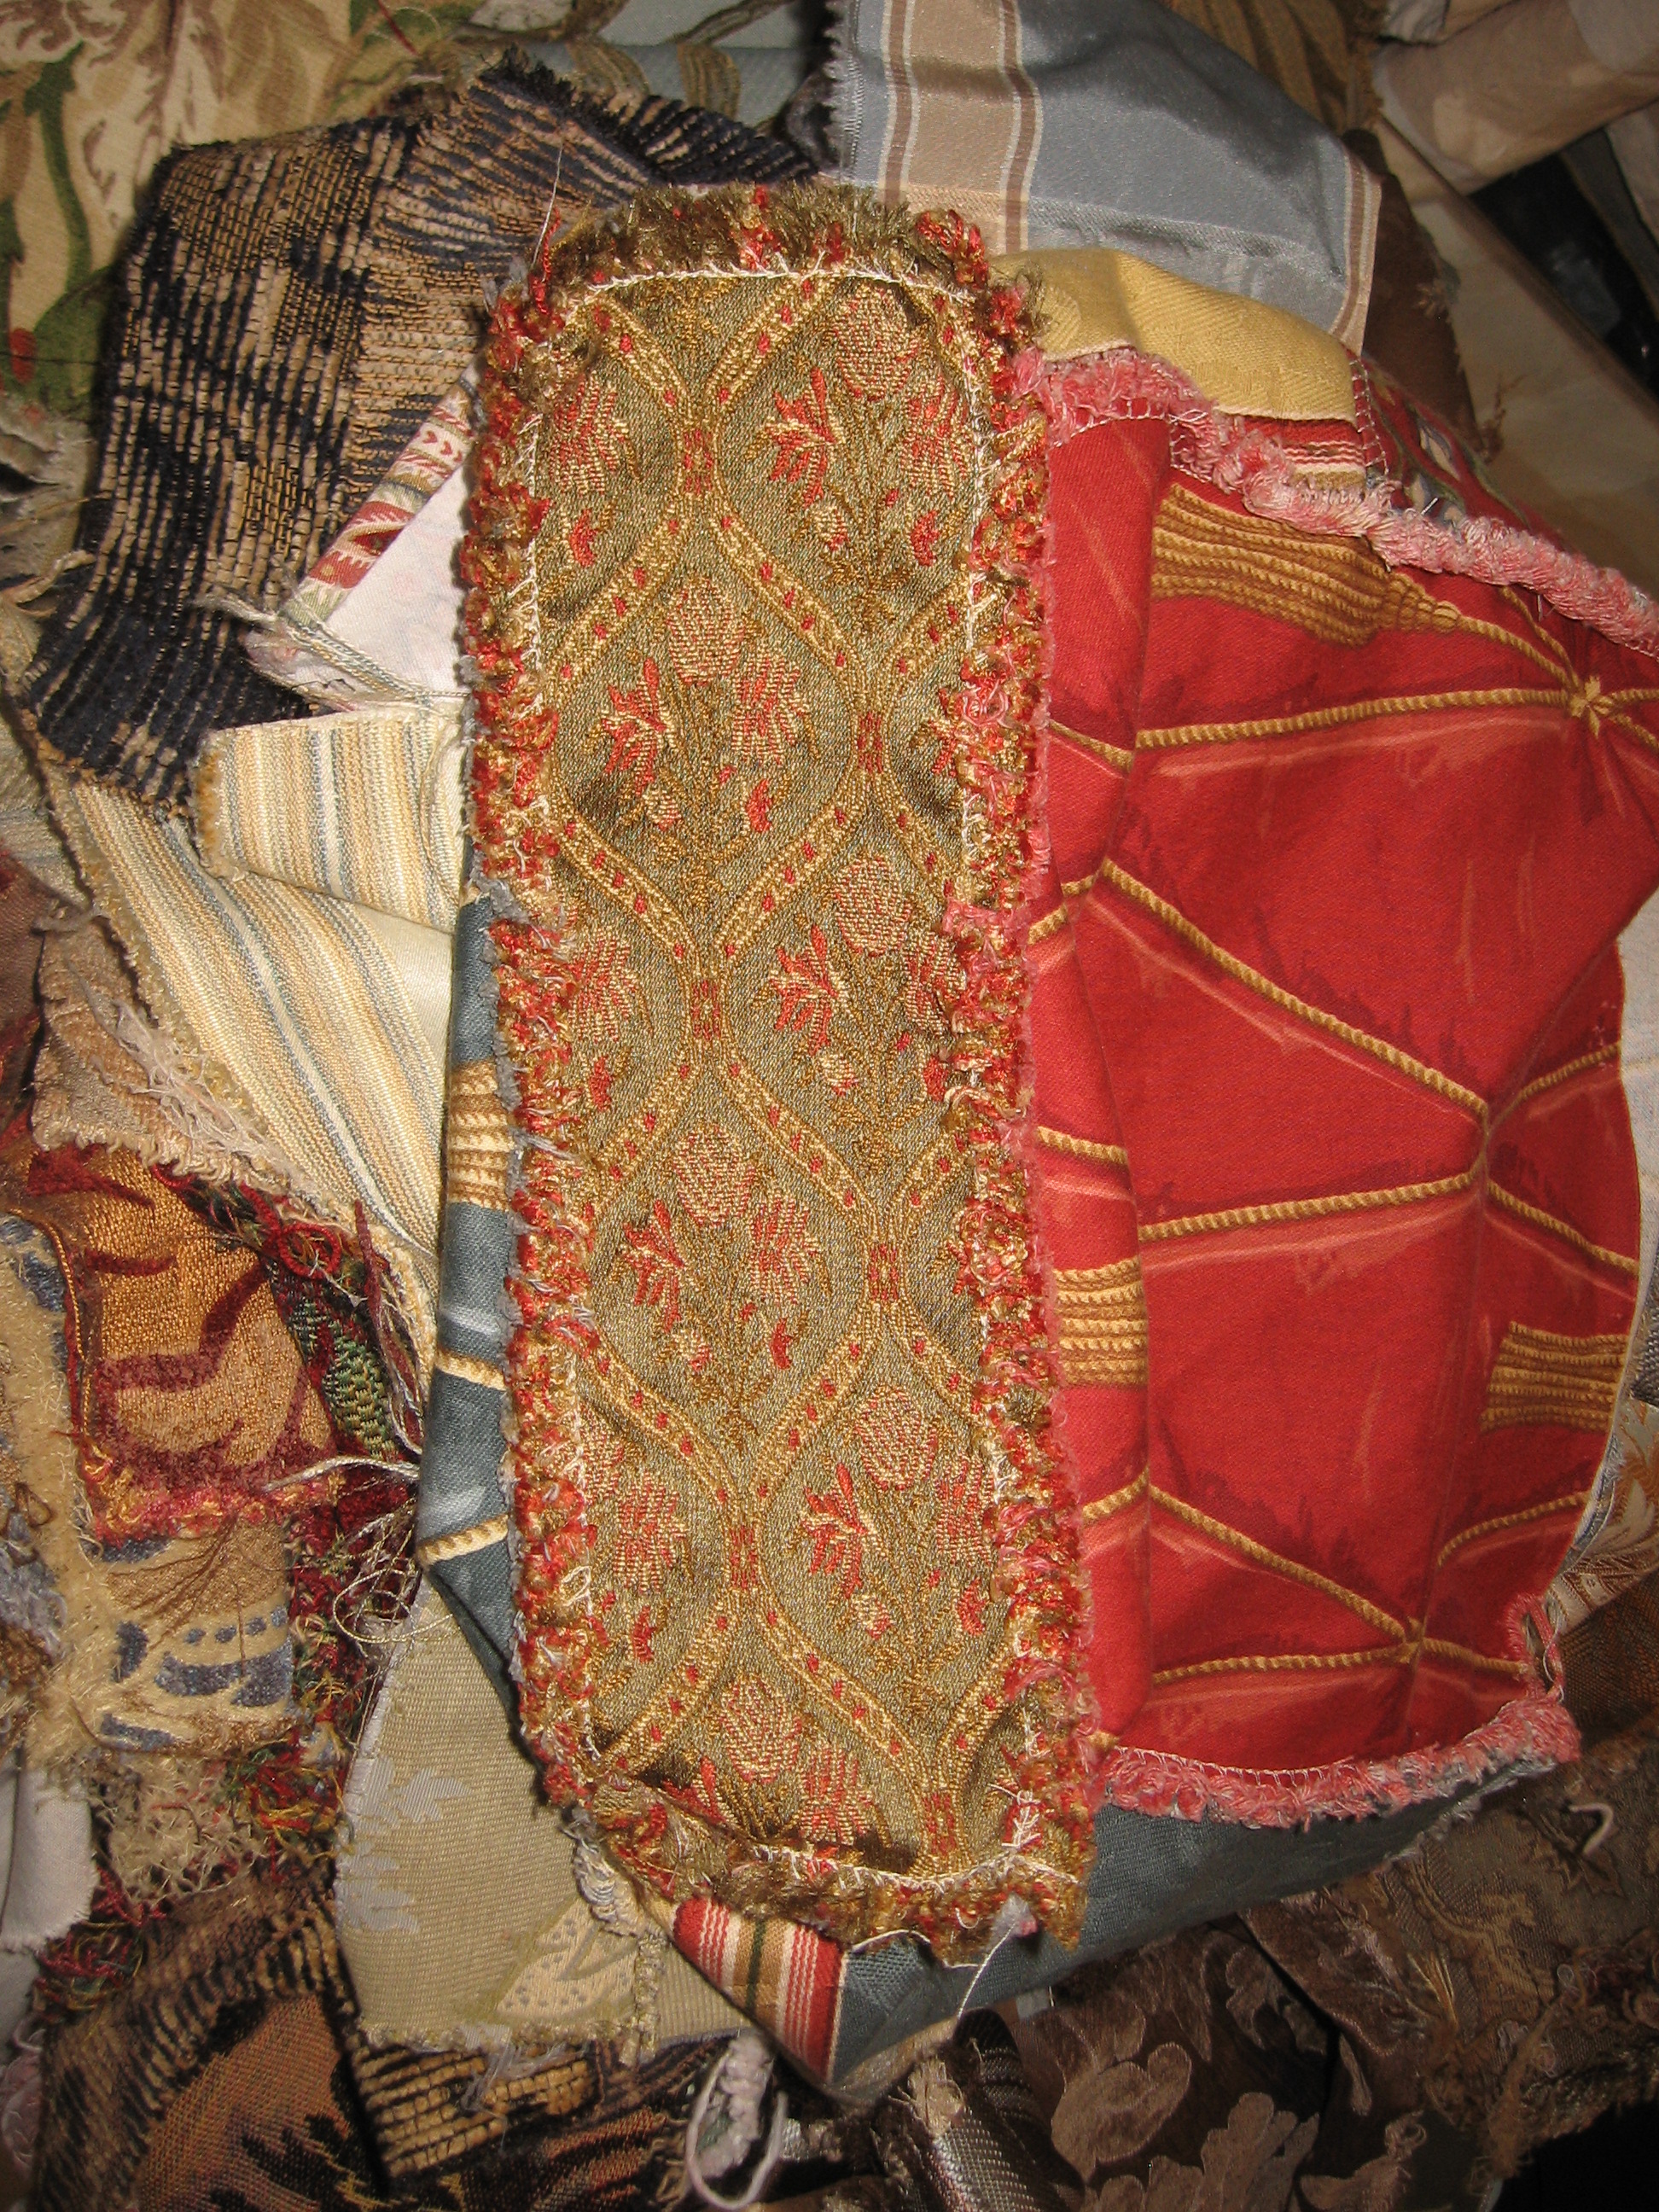
The lining was made using all of the same measurements she’d just done making the shell.
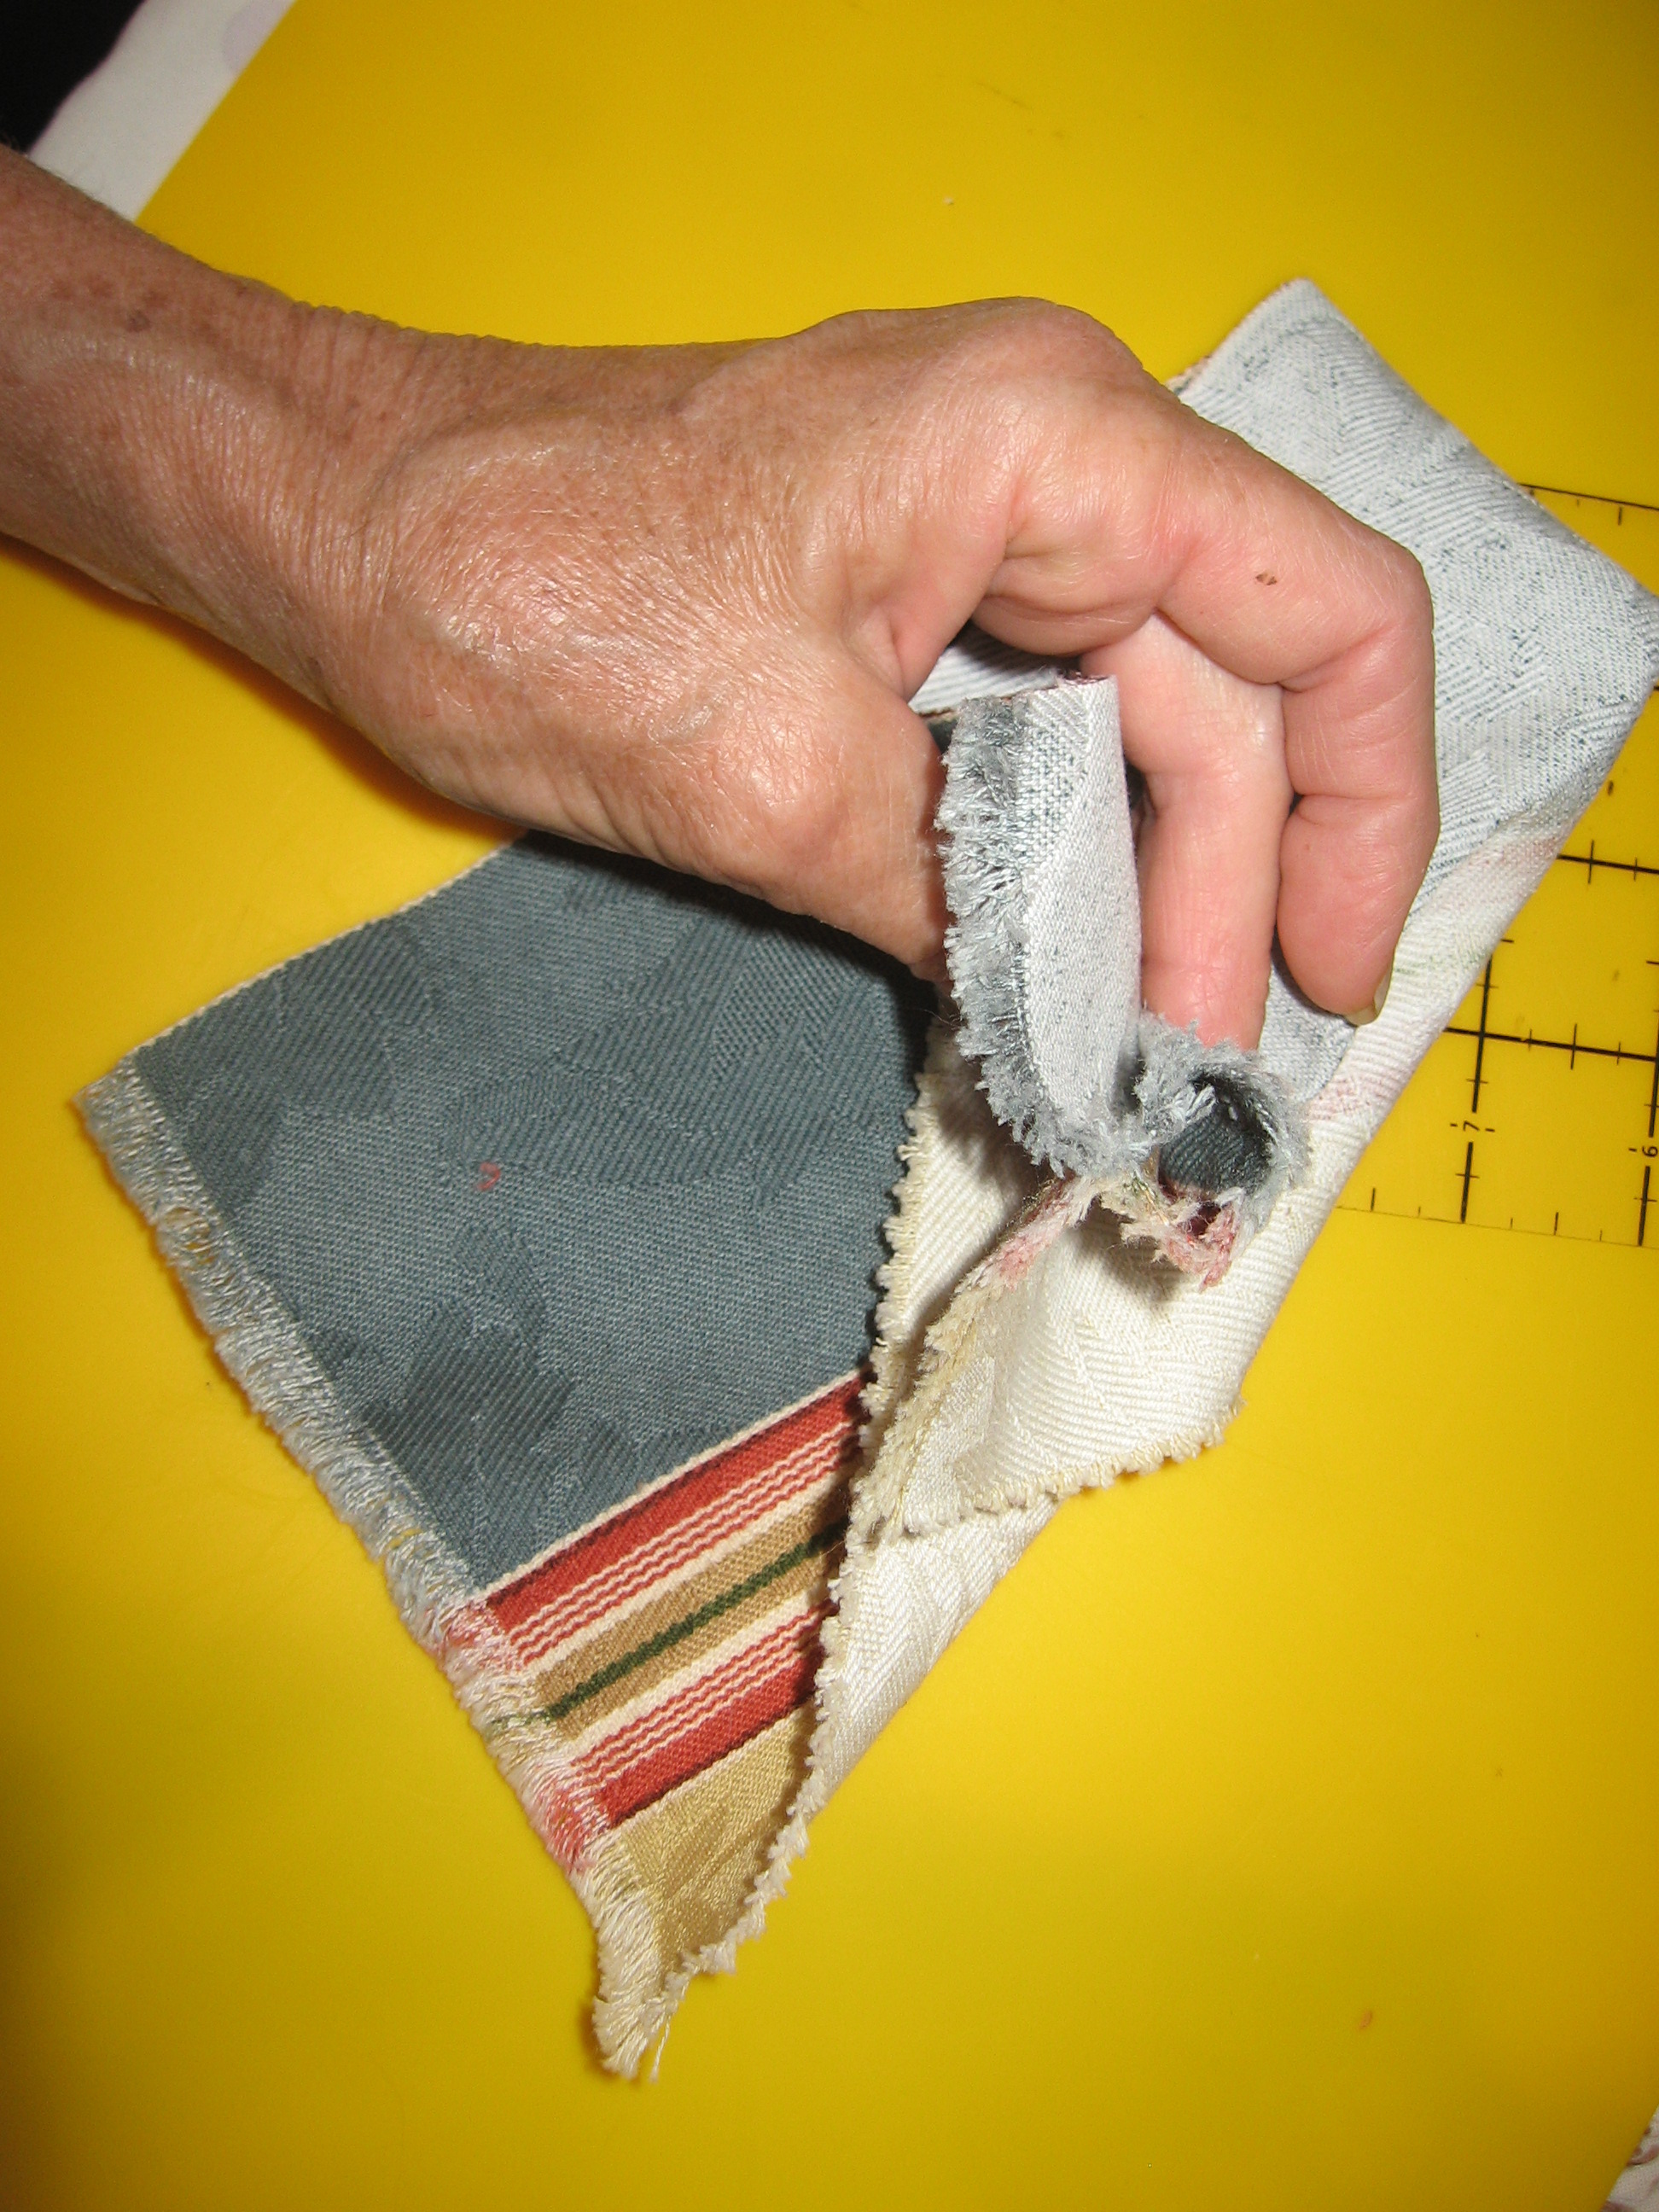
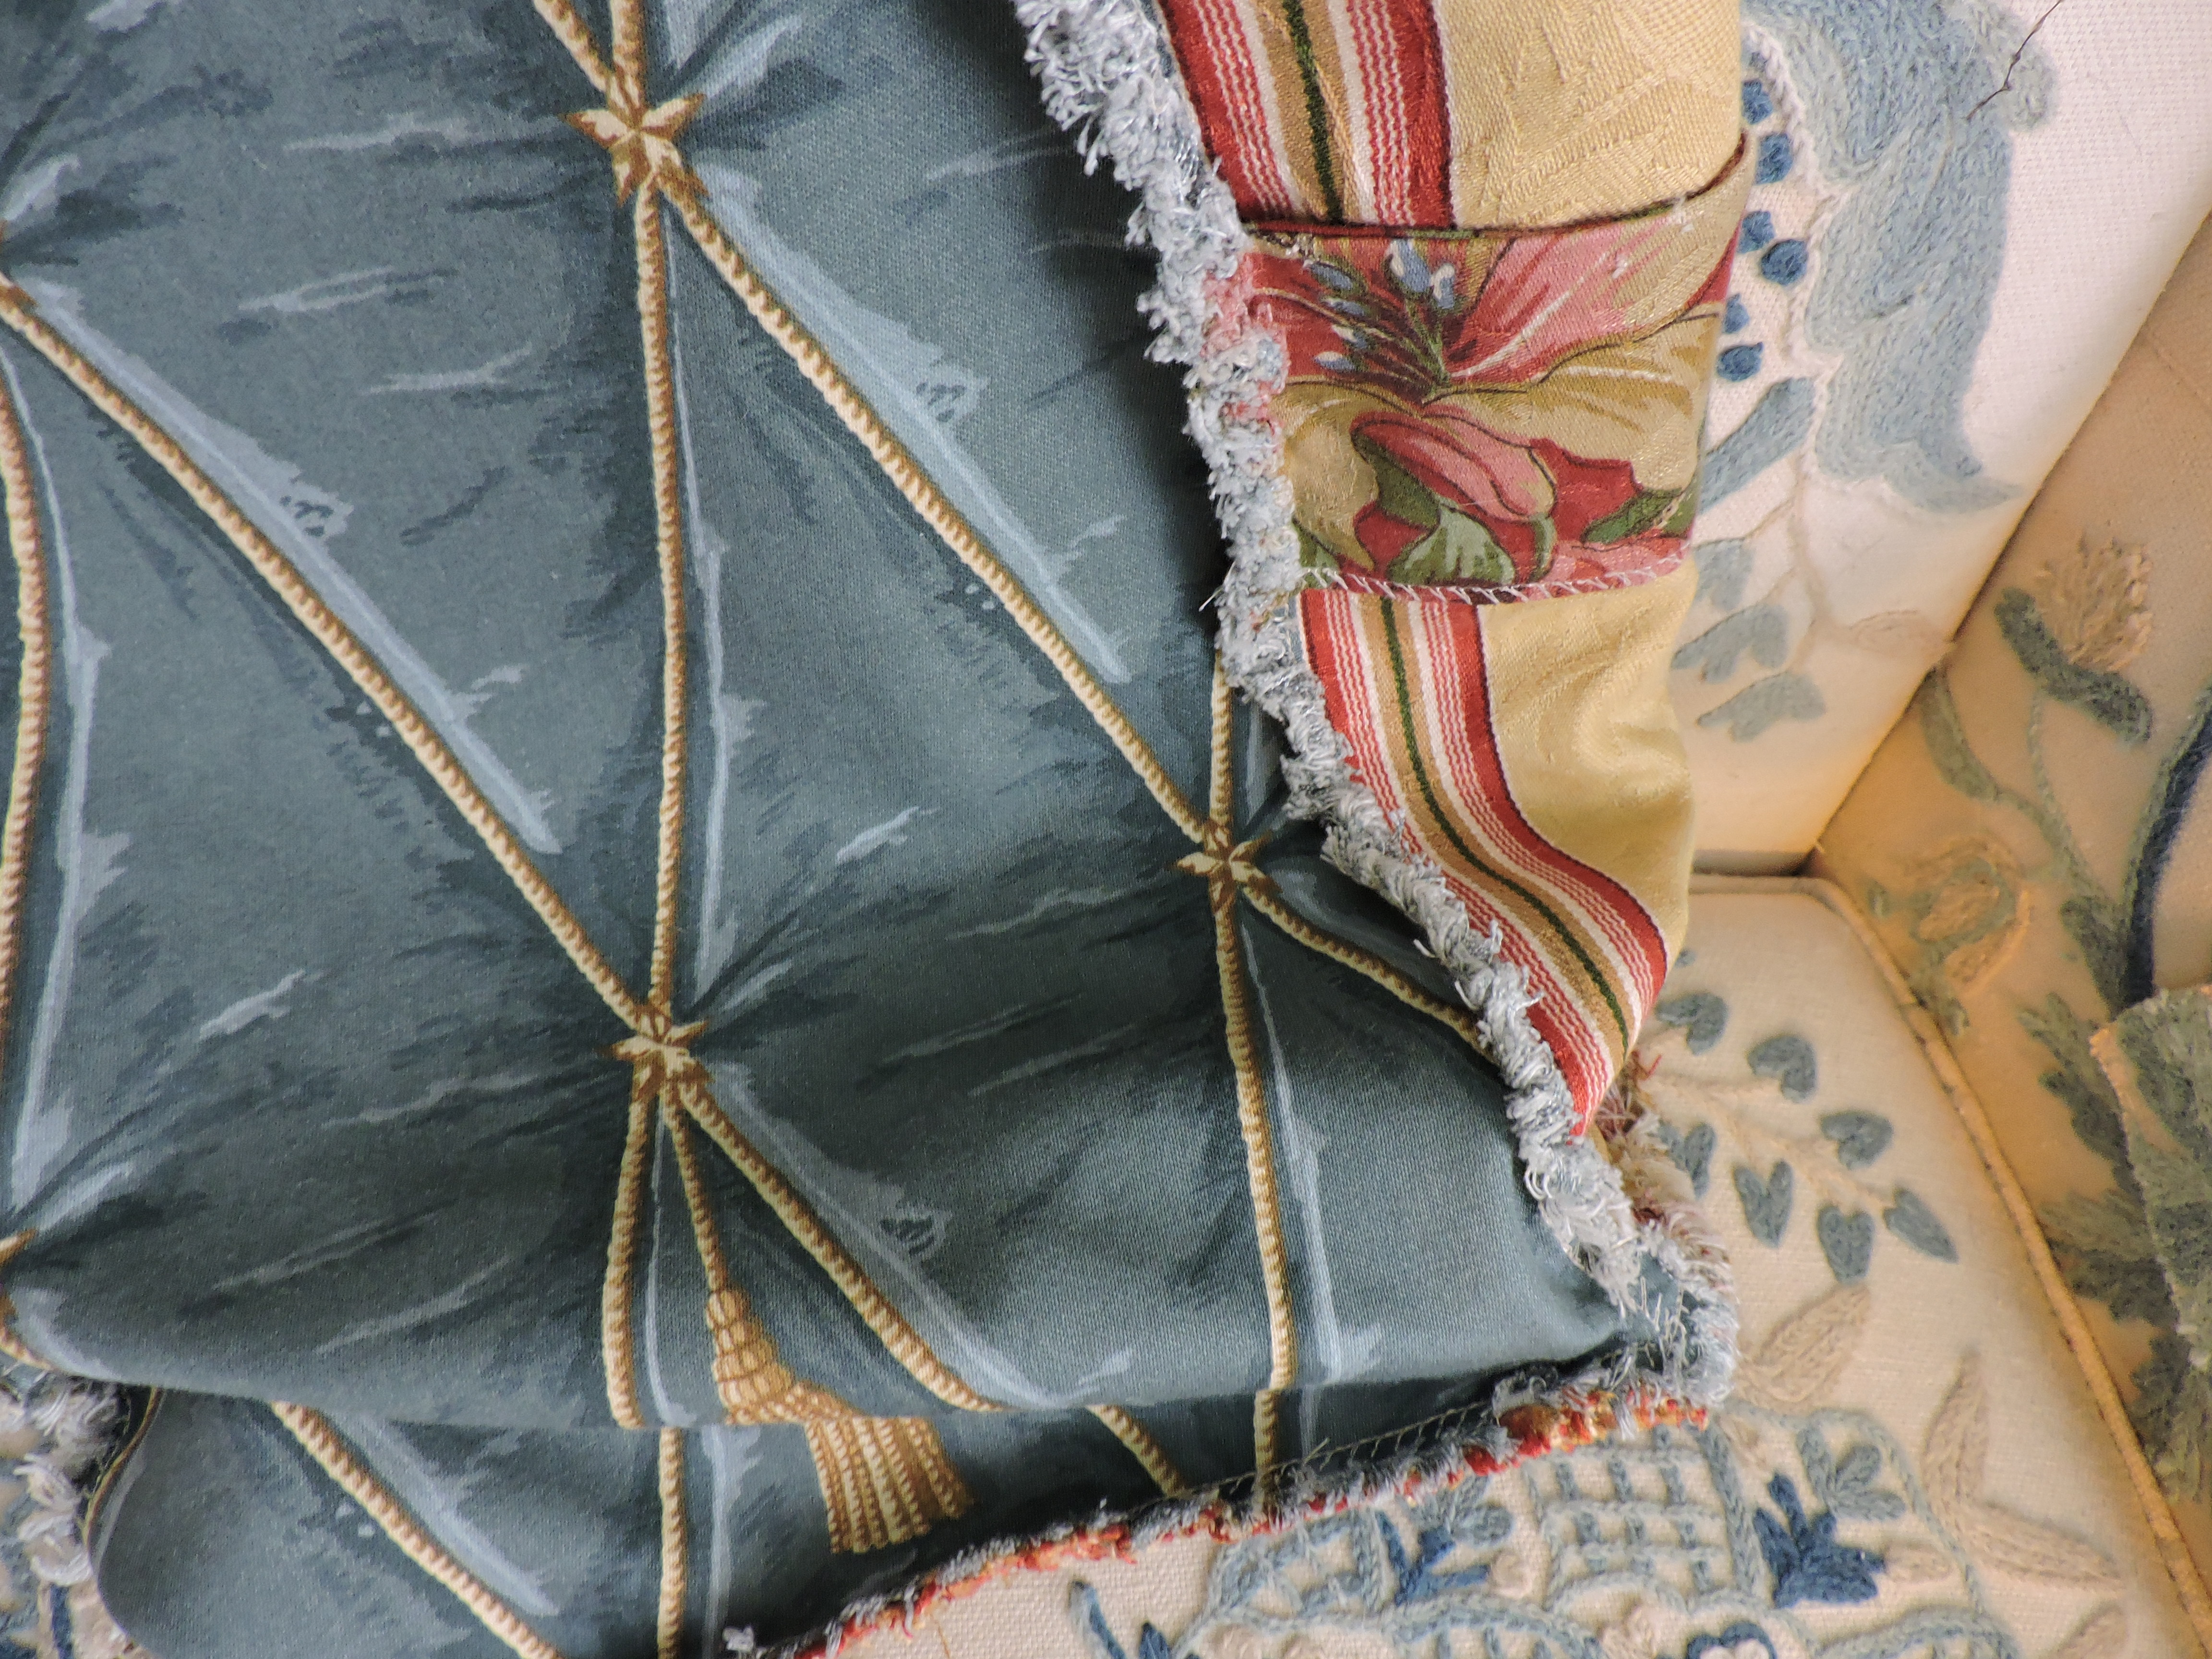
She intentionally made all of the seams on the right side of the fabric because she wanted to use a ragged edge as a feature. As it turned out, she realized she’d rather have stitched the lining to the shell pieces before seaming them together as then the lining would have also shown in the ragged edge. This is product development. Next one, she will use that technique to improve the results. The lining was all cut from one big piece of satin she’d ordered a yard and a half of for her store years ago. Orange with dots woven into it.
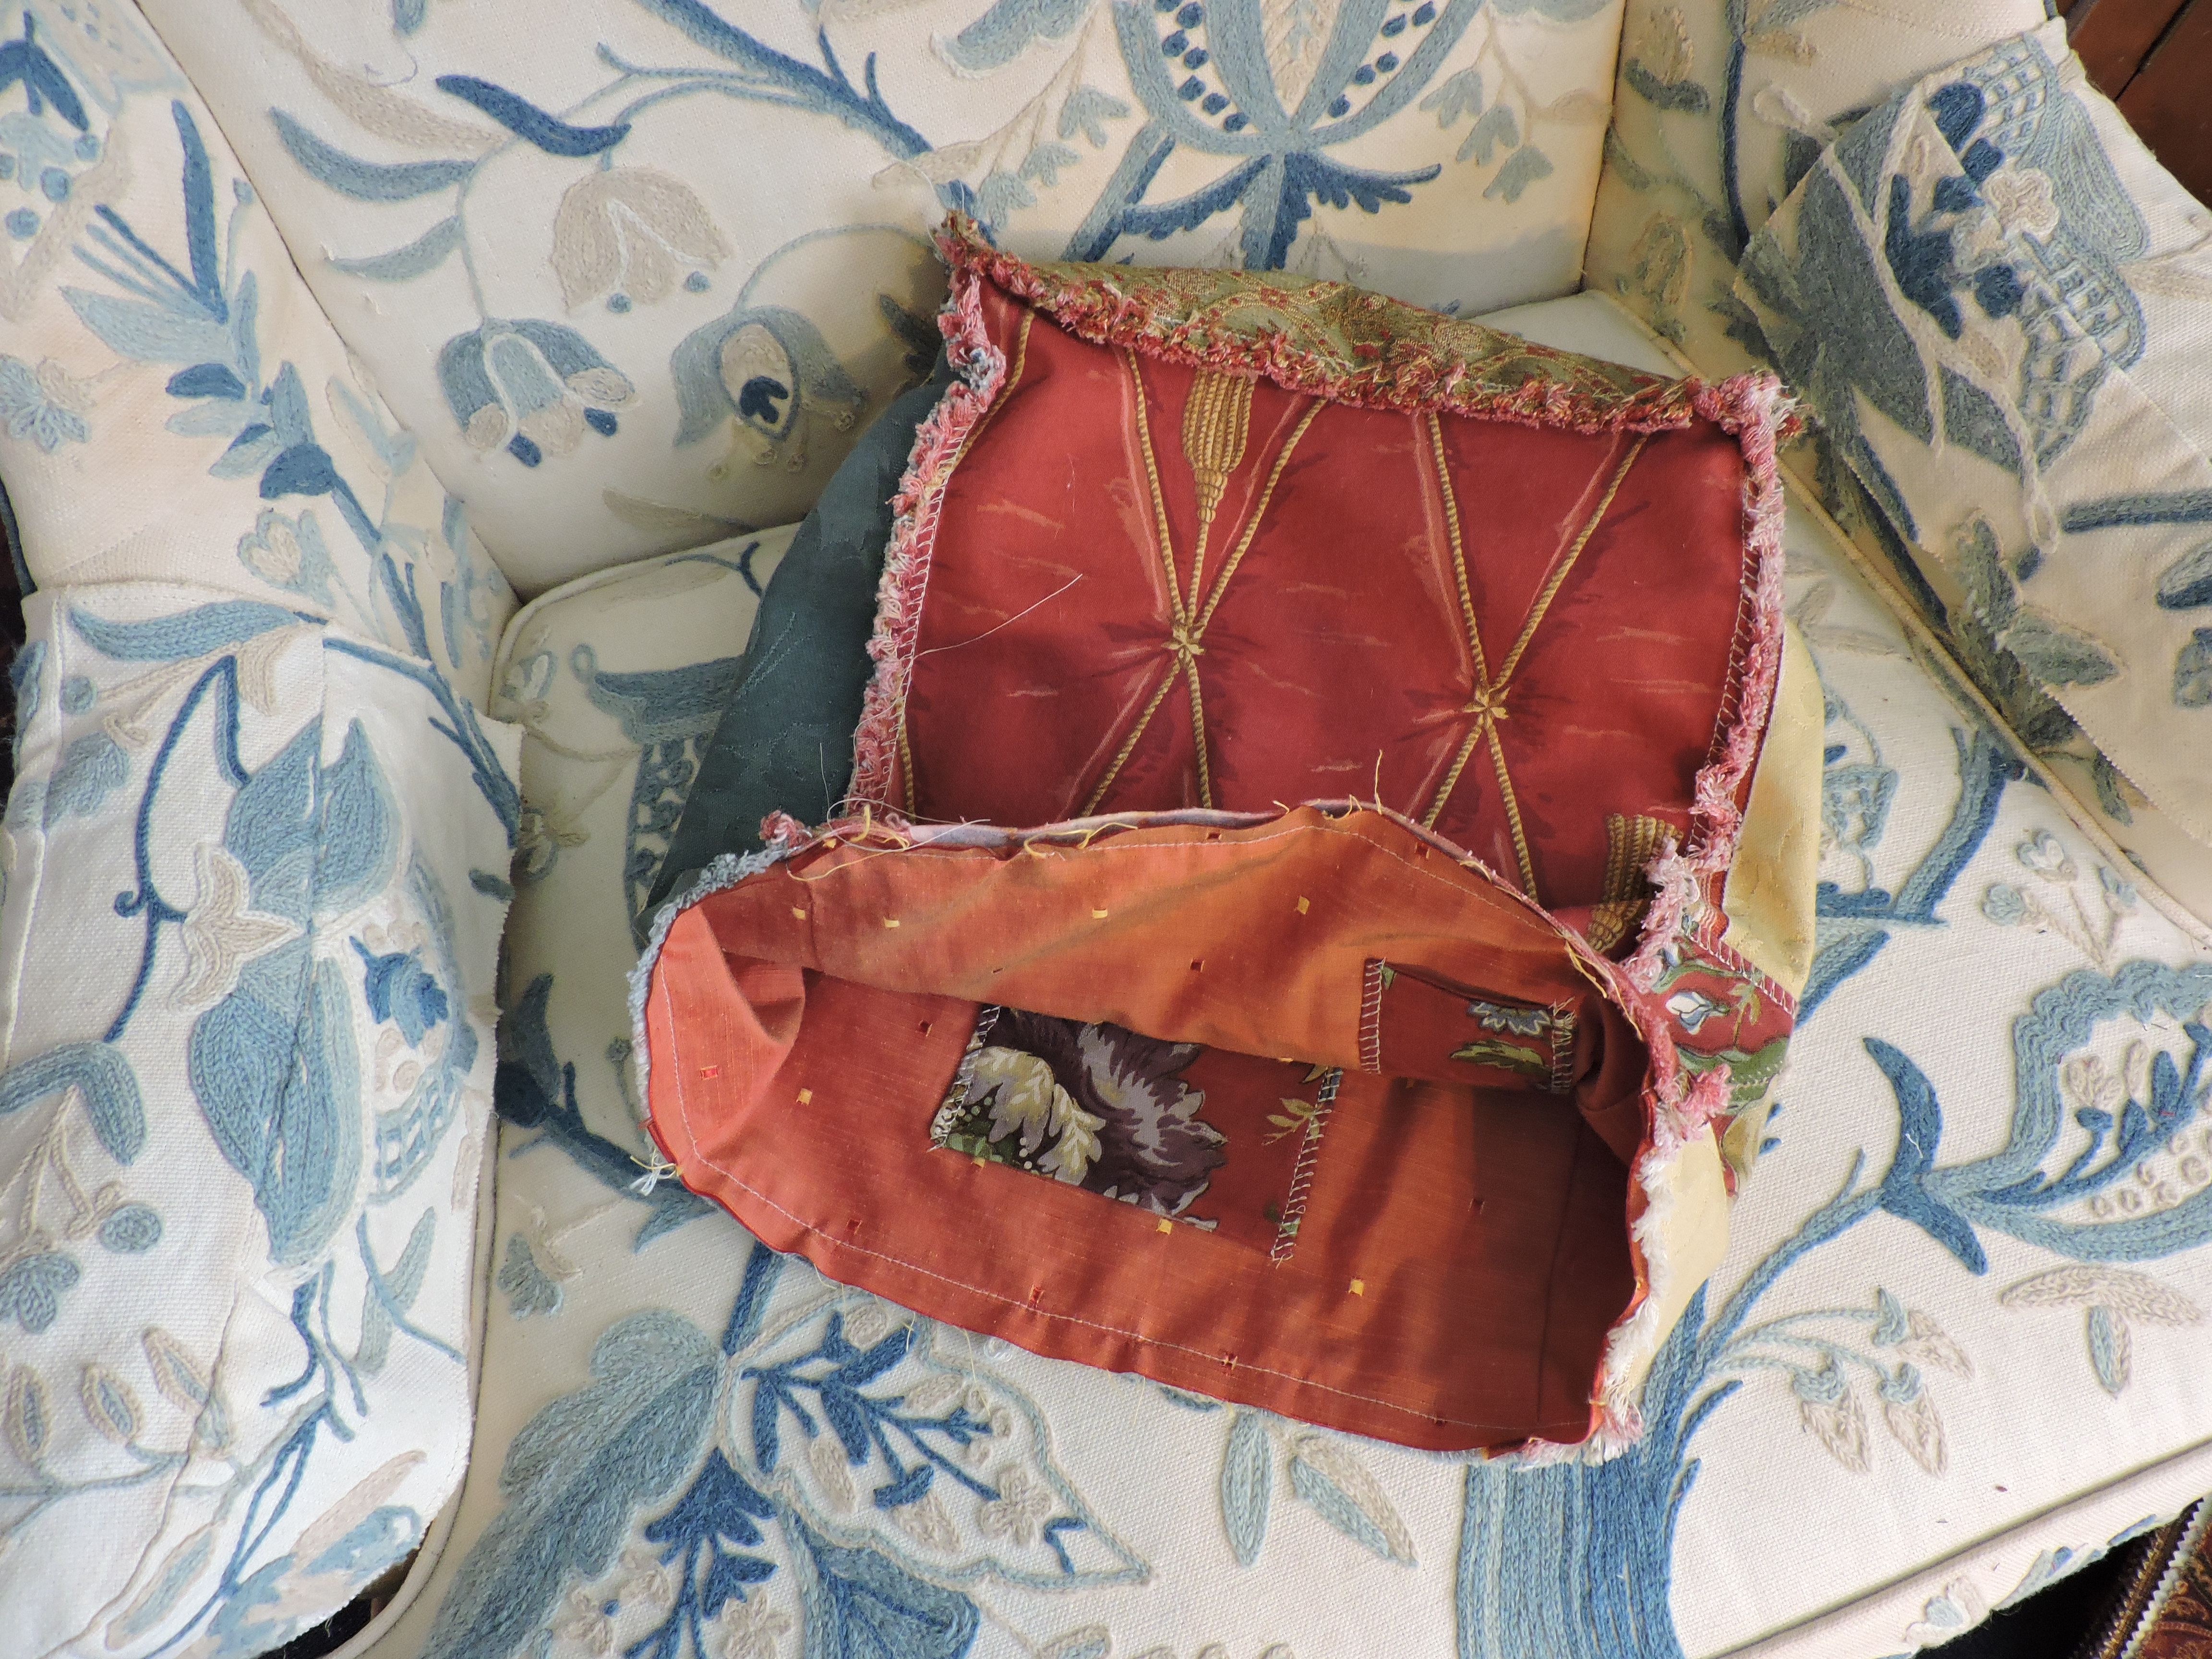 In the process of building the lining, pockets were added and as it turned out, they seemed too close to the edge so a decision was made to add a top piece that would increase the height as well as cover the raw edges.
 This piece was cut into three sections and seamed together. Again, you learn through the process. When she went to make the handles, she realized that a bias joint would have been better. It shows less.
 It’s very hard to explain the labor steps involved in constructing anything that is sewn. There seem to be a million little steps that are taken that are invisible to the final product.
Ms. SpoolTeacher was thinking through the whole process, “Maybe it would be better to hold a ‘build-a-bag class’ rather than try to sell them already made.” But, that has a whole ‘nother set of problems.
She’ll just make a few more and see where it goes. The first one is always the hardest. A lot of the “bugs” get ironed out in the process.
 For instance, this little side pocket that seems rather lacking in function now that the whole thing is made; but even so, it adds interest. Maybe a place for a little list for the store, something that wouldn’t be devastating if it were lost.
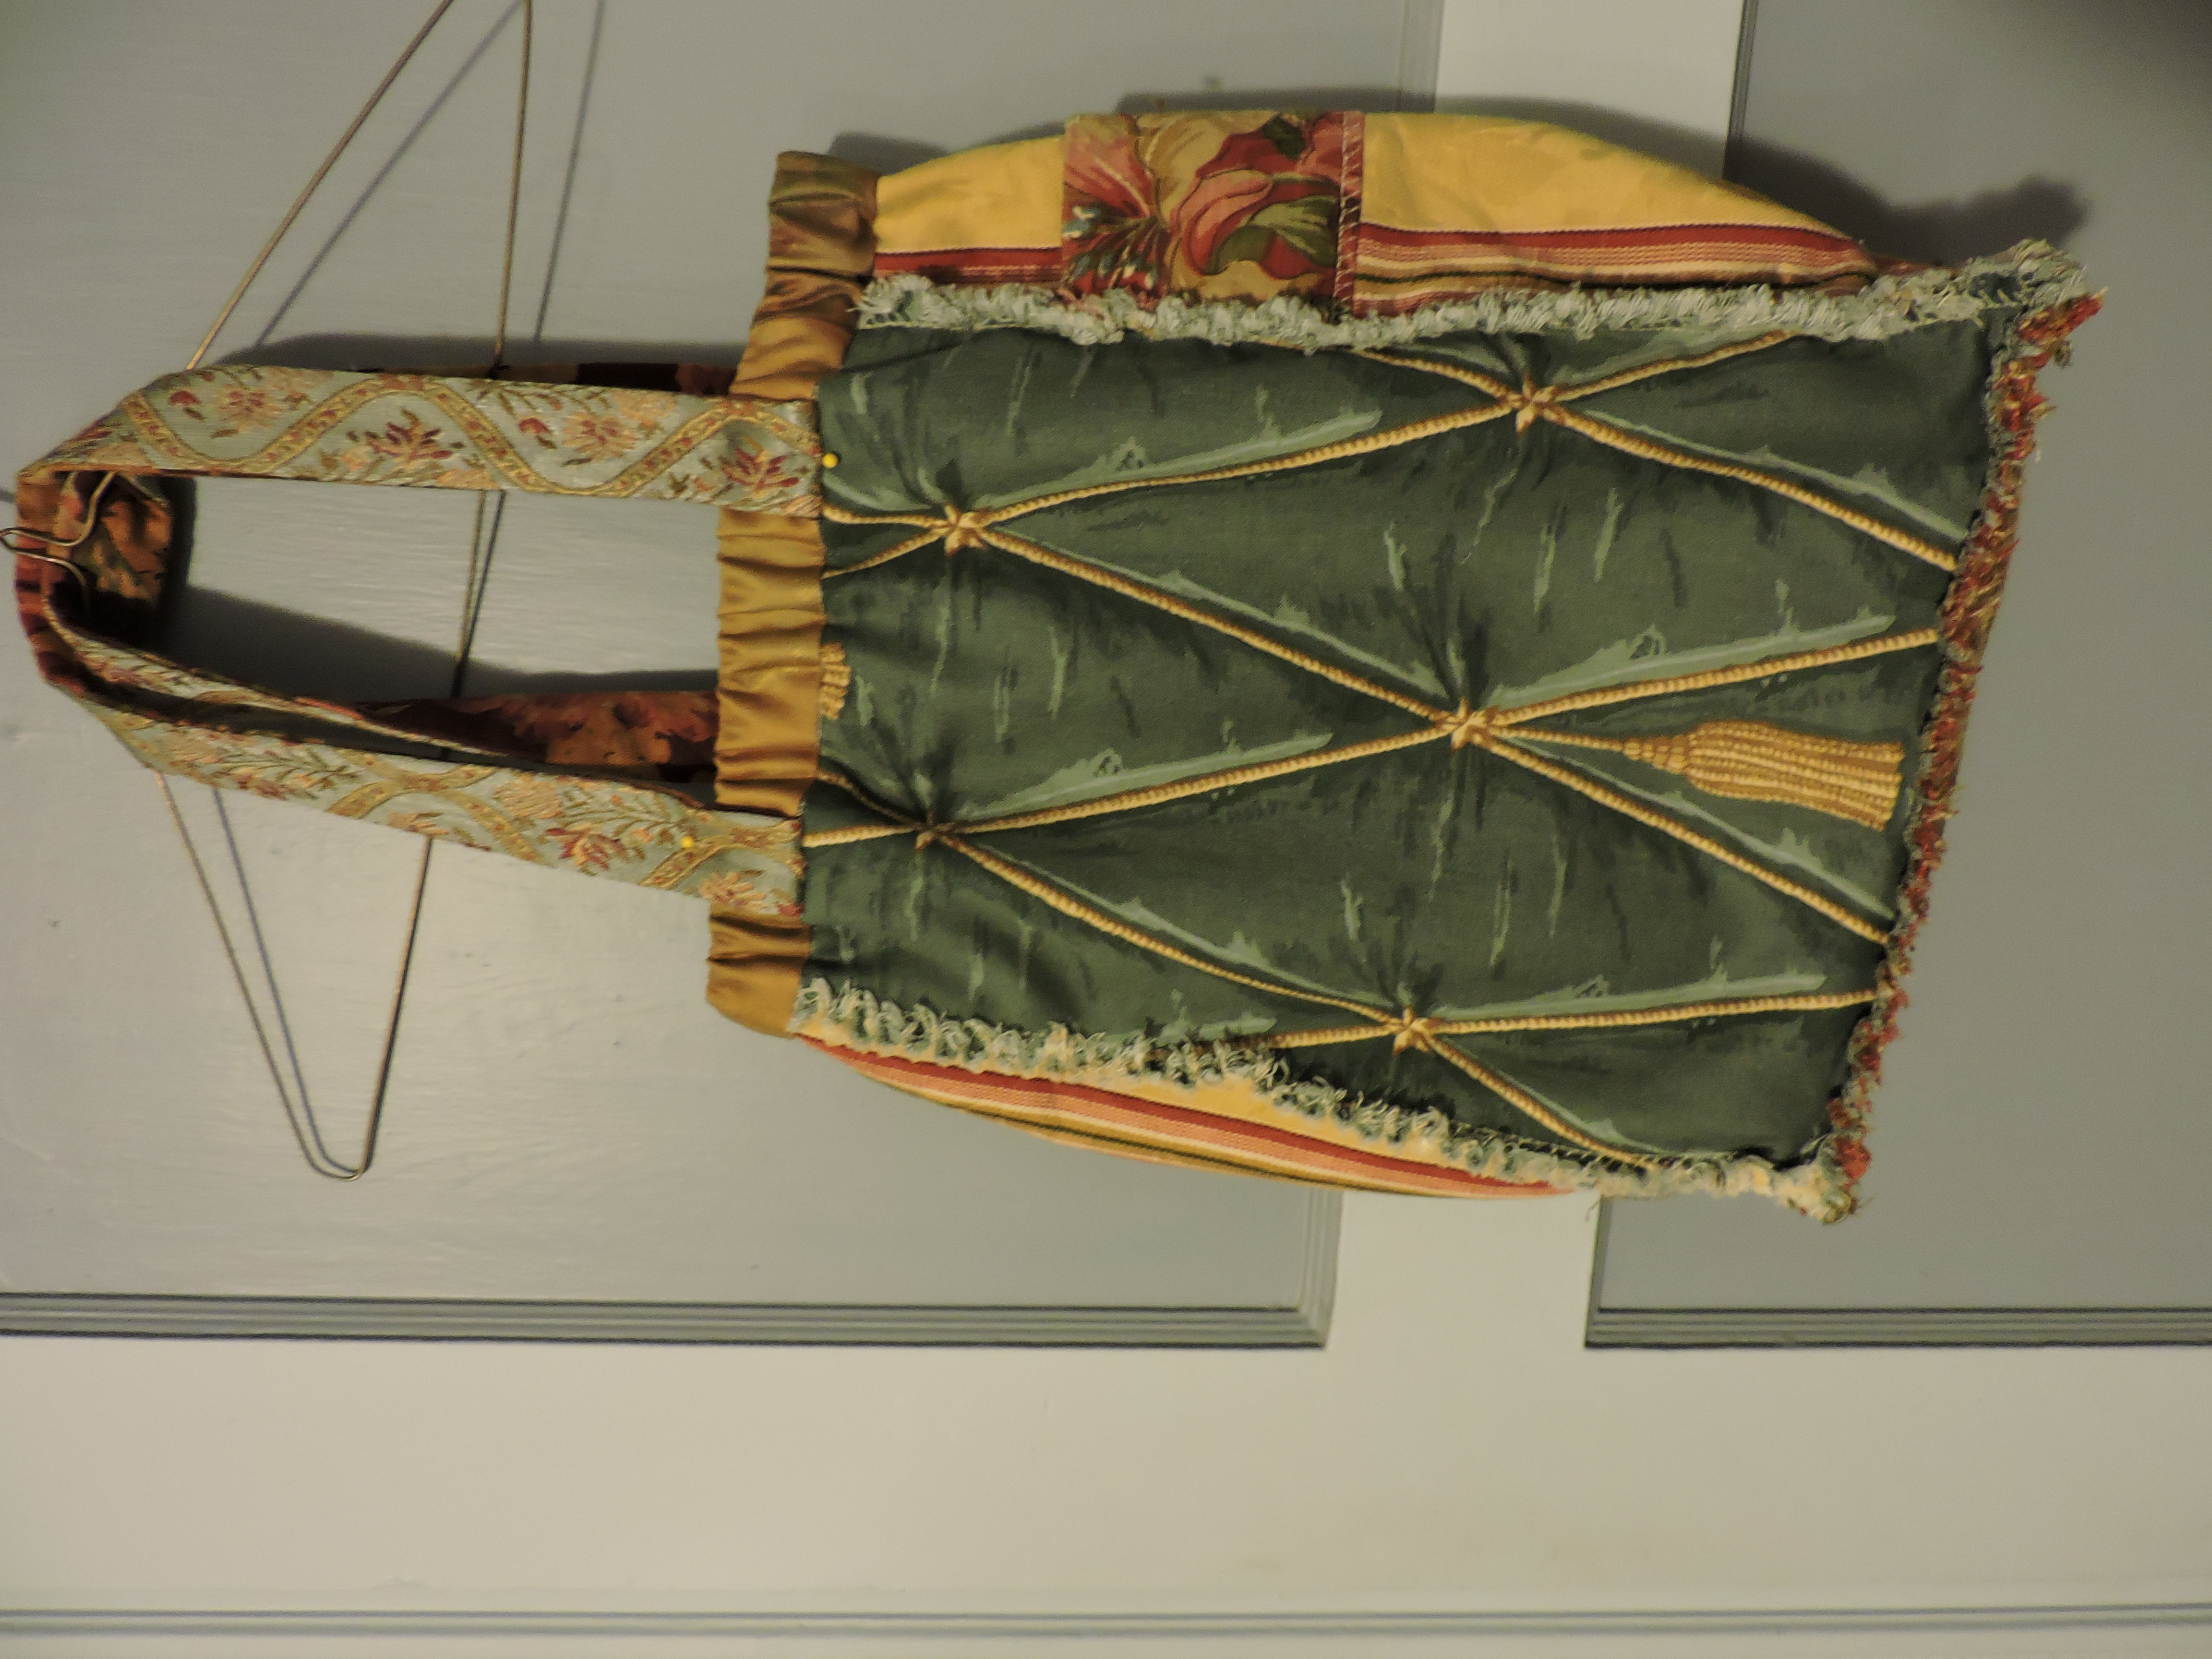
She was real happy with how the ragged edge turned out. To make a secure seam, she used her stretch stitch so that even after clipping close to the seam, there were still plenty of stitches securing it. It sure would have been pretty with the orange showing. Product development deployment can sometimes have disappointments. A lot to be happy with though, as well. 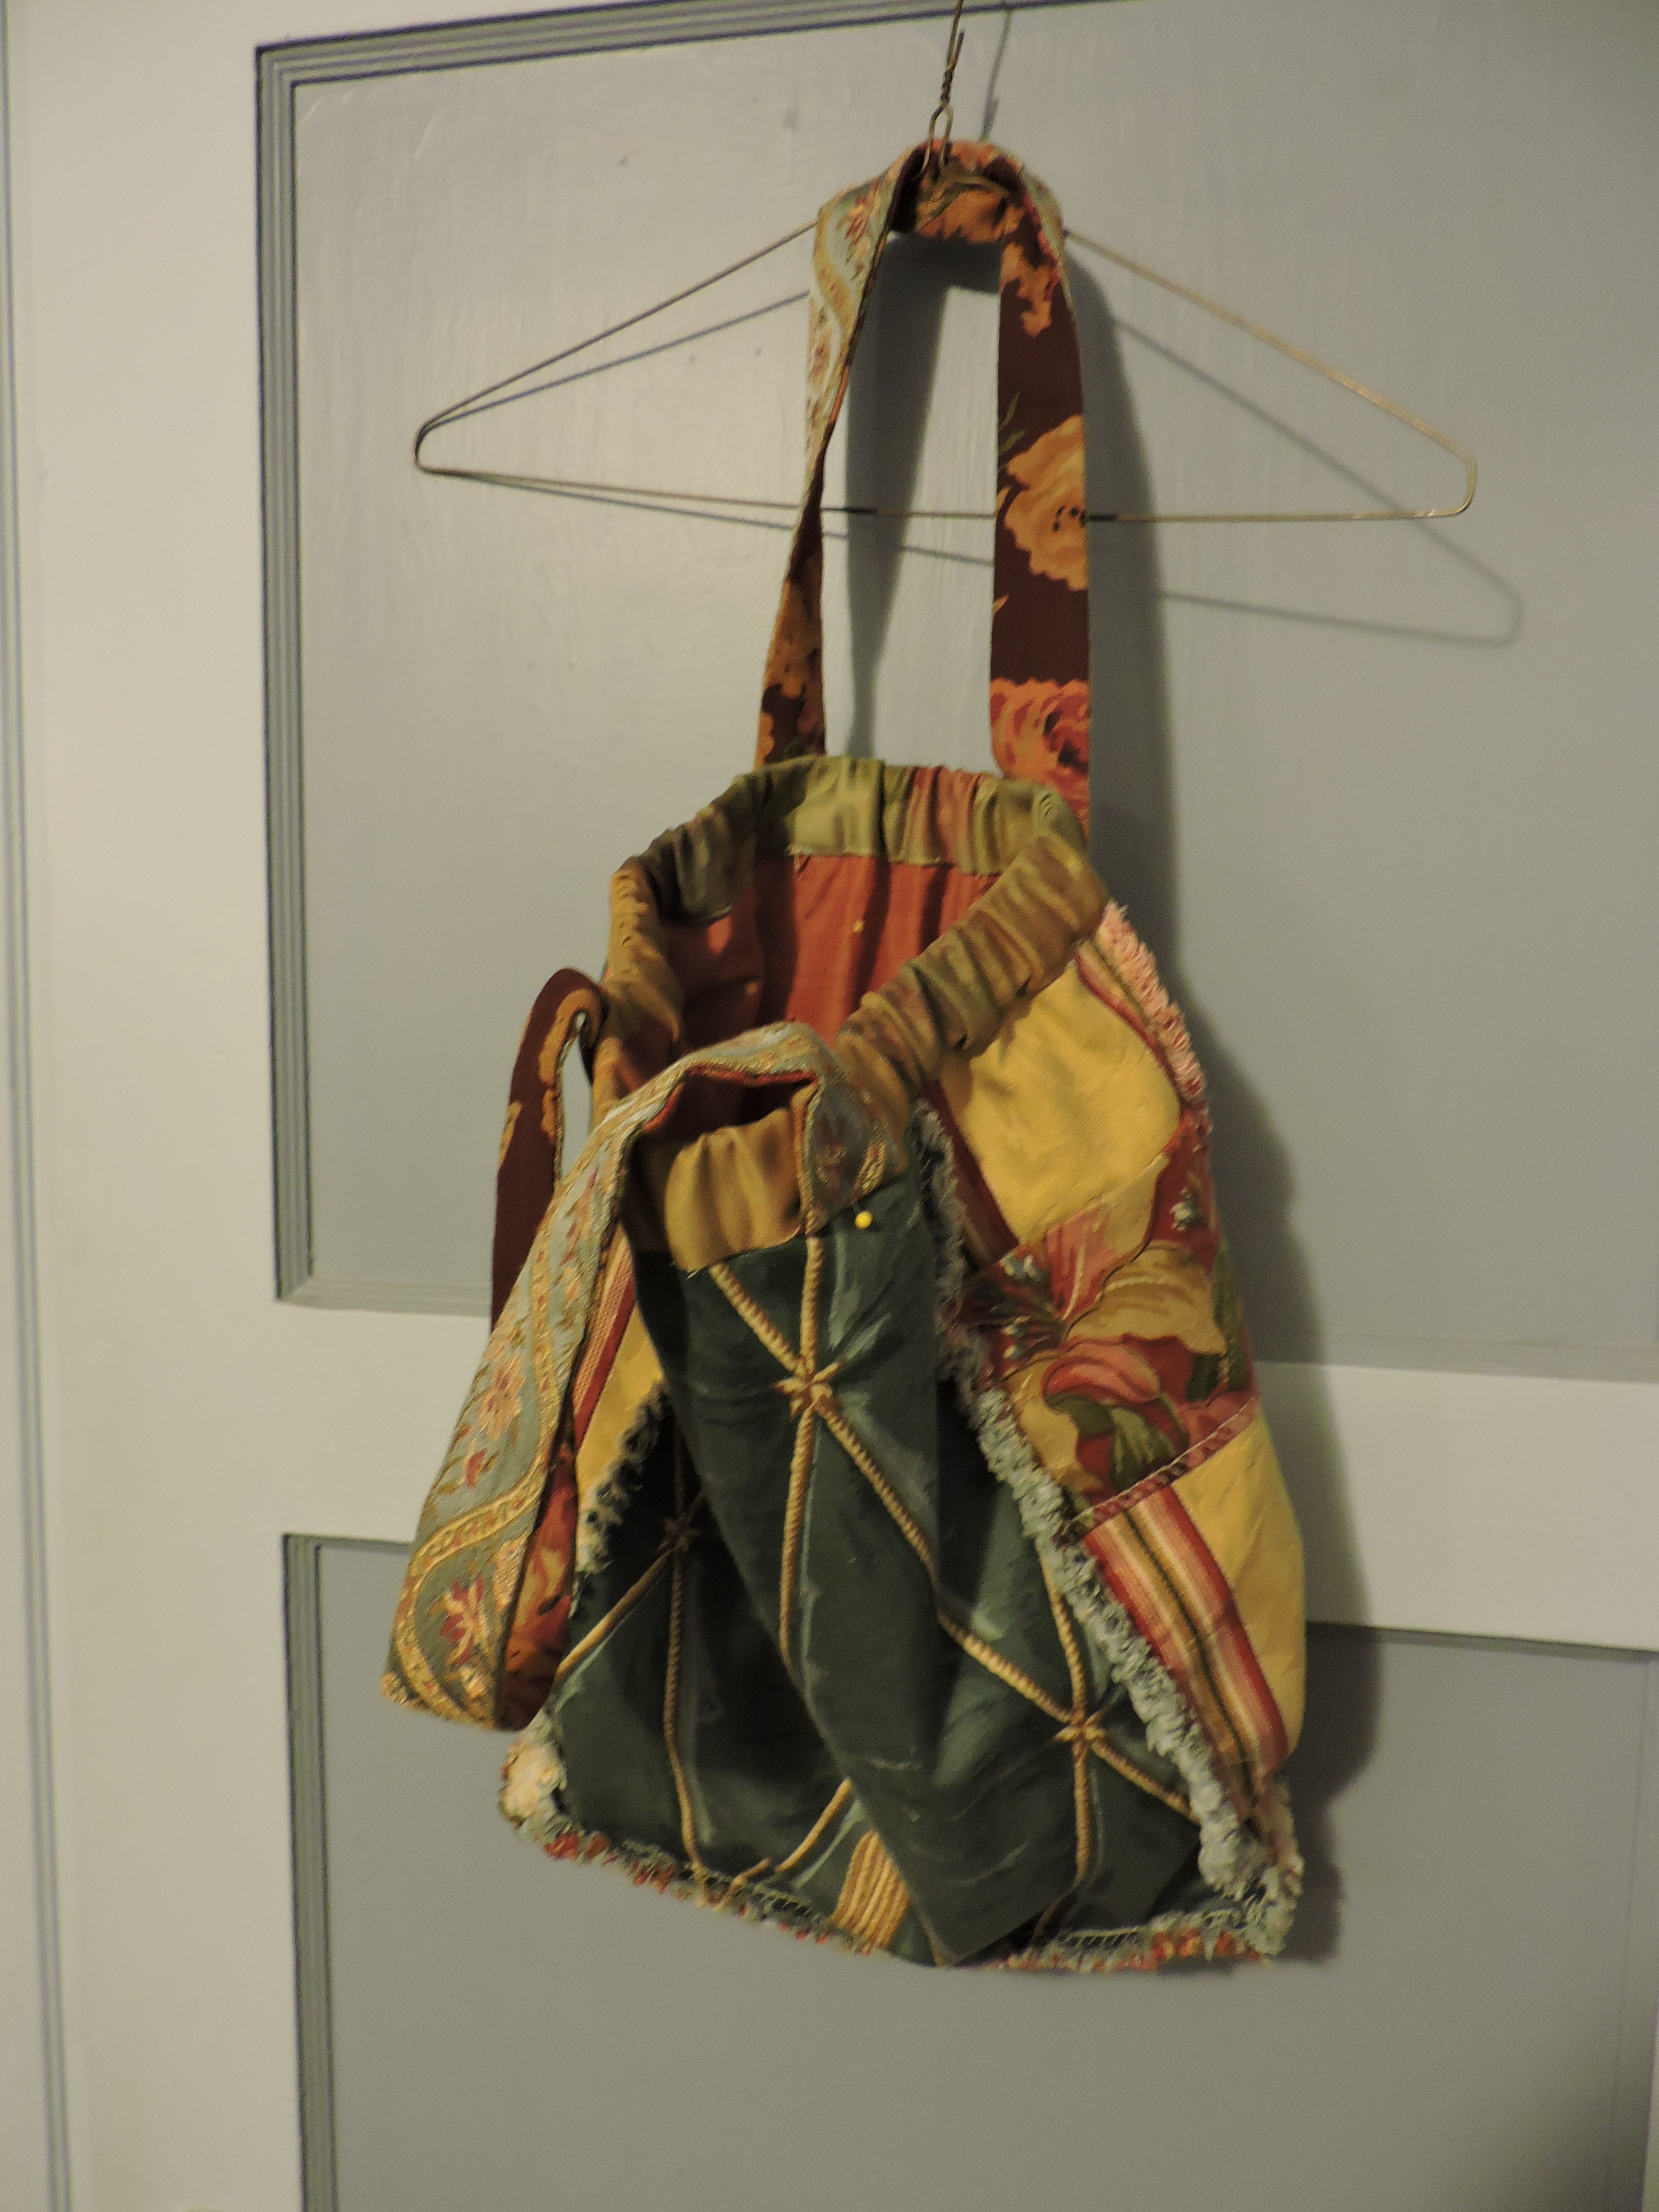
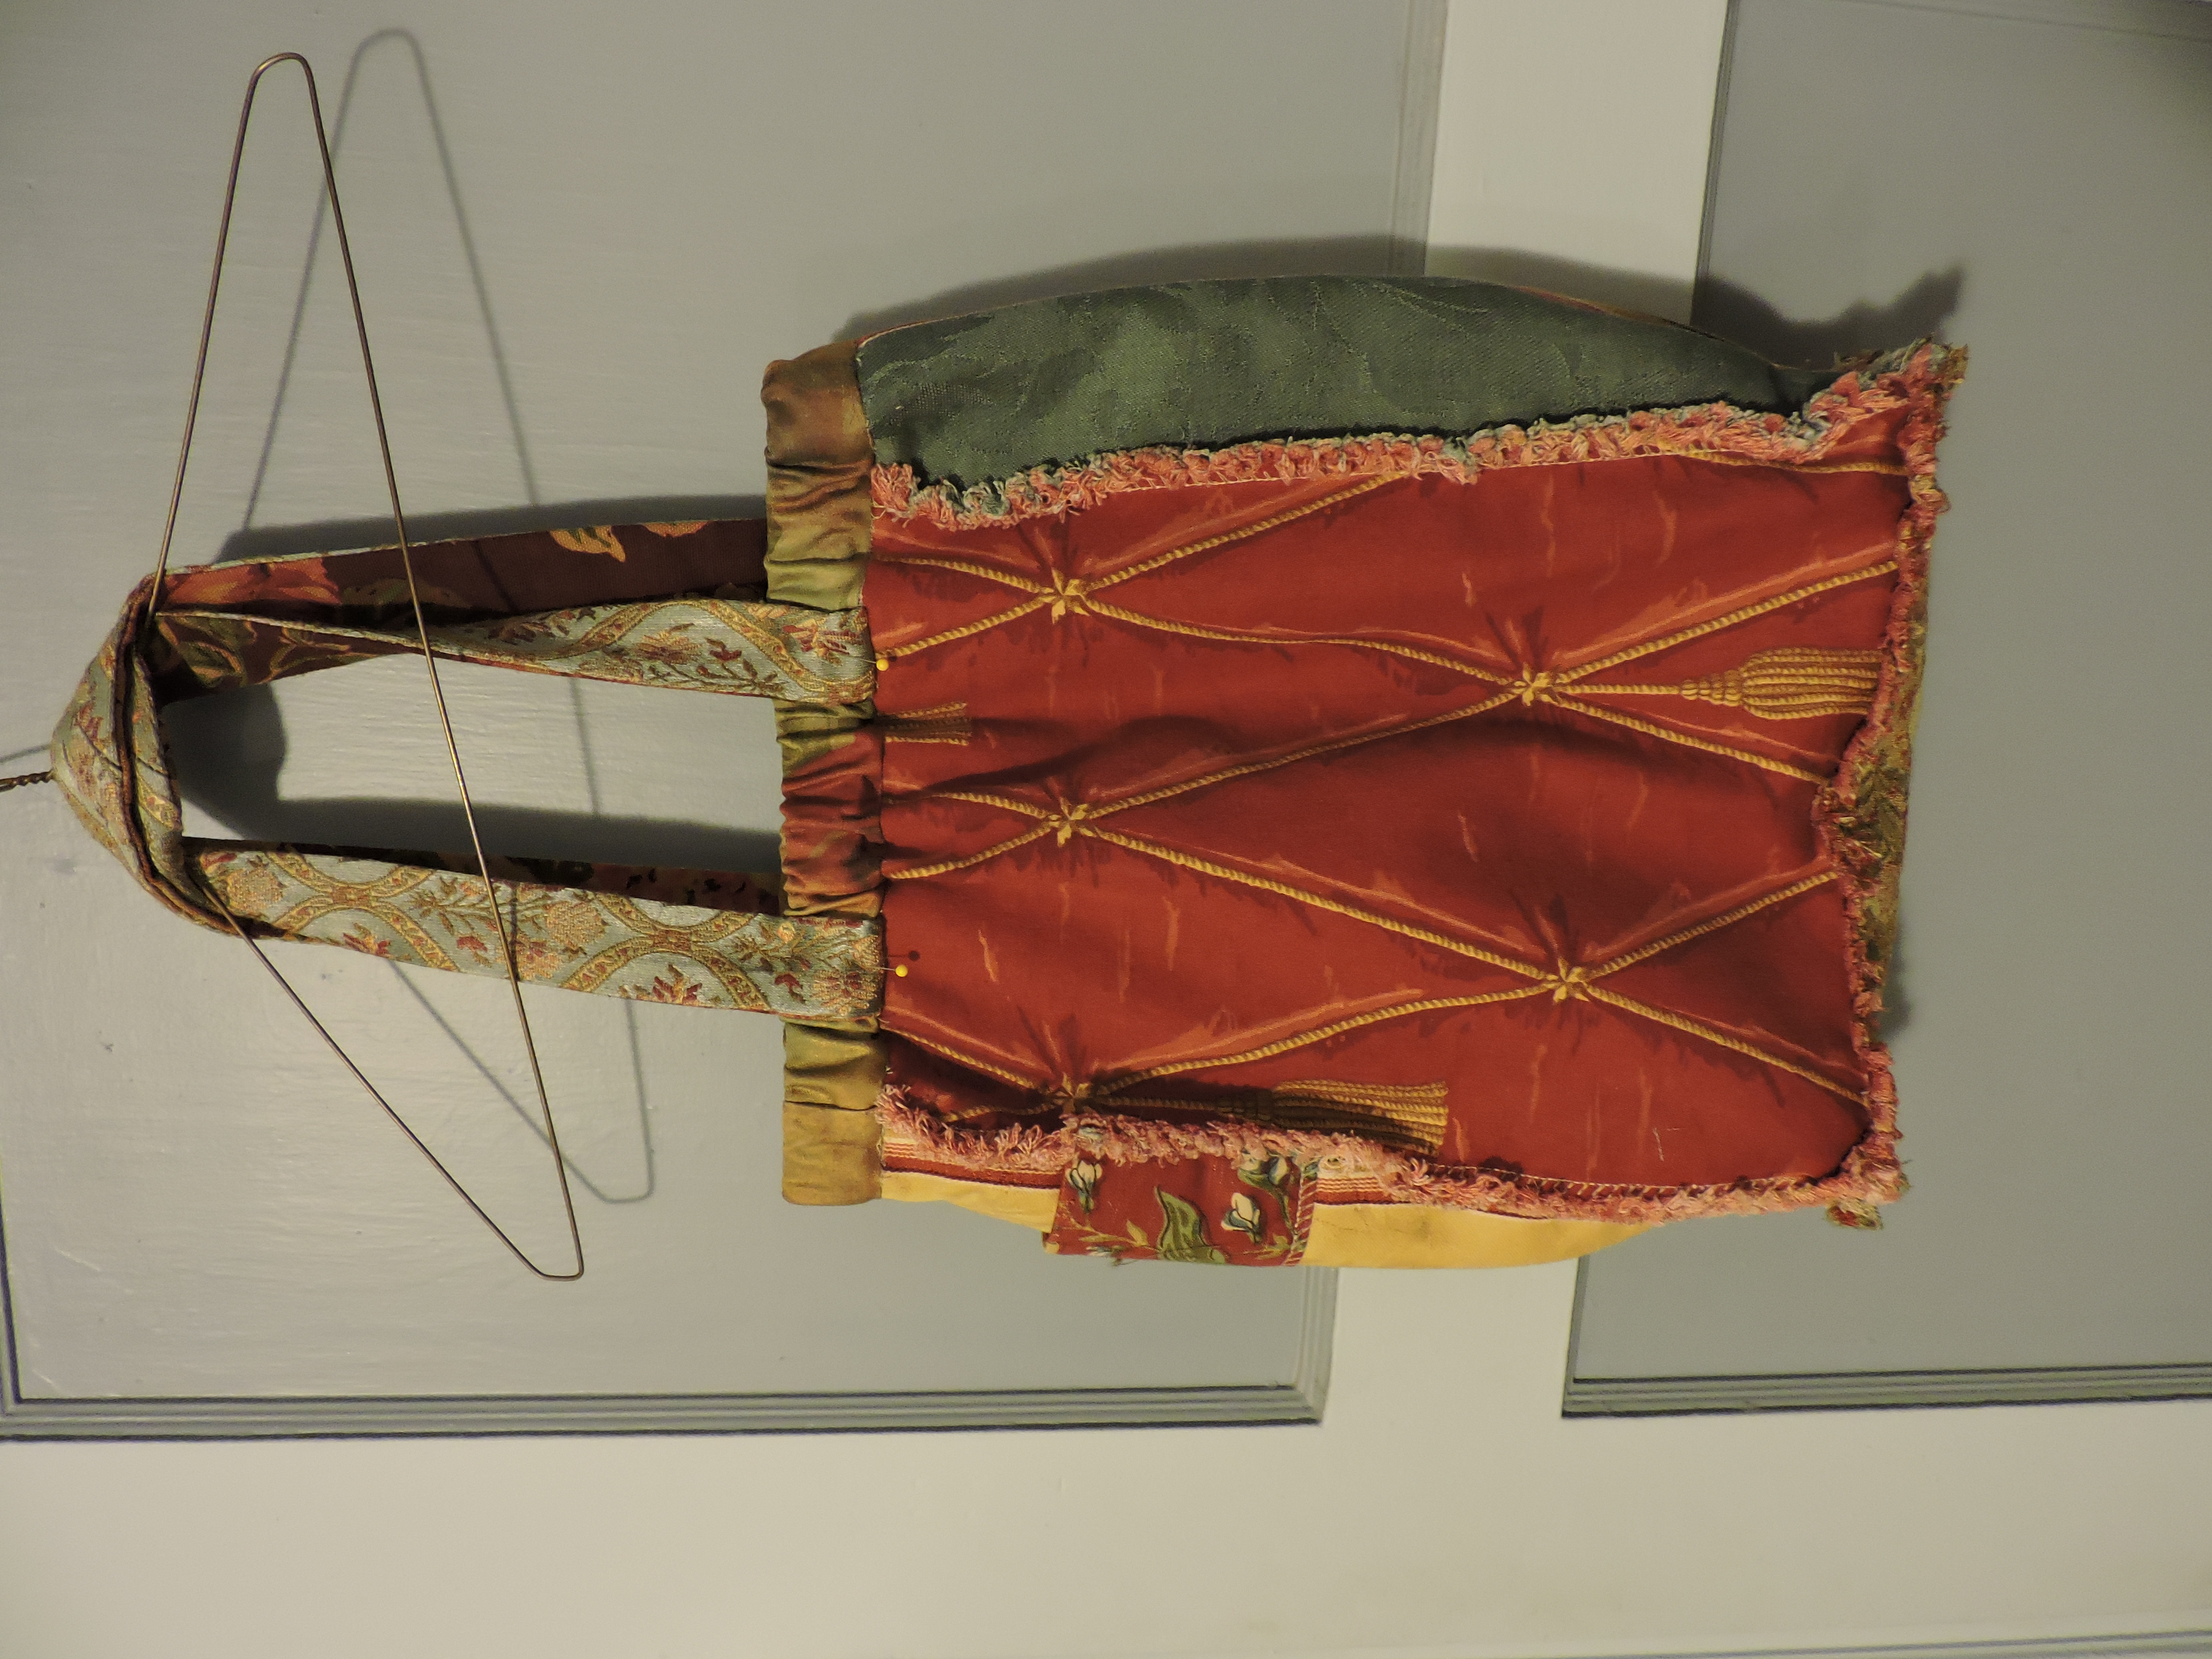
Now she thinks she will add some decorative buttons to secure the straps to the top band. After adding elastic to crinkle it up, the top folds in some getting in and out of it.
Sixteen hours and counting…
When the muse gets a hold of her, it can sometimes turn into madness.
A Magnificent Obsession kind of madness.

Muse: Madness
Deploy: bring into effective action; utilize.
“they are not always able to deploy this skill”


